
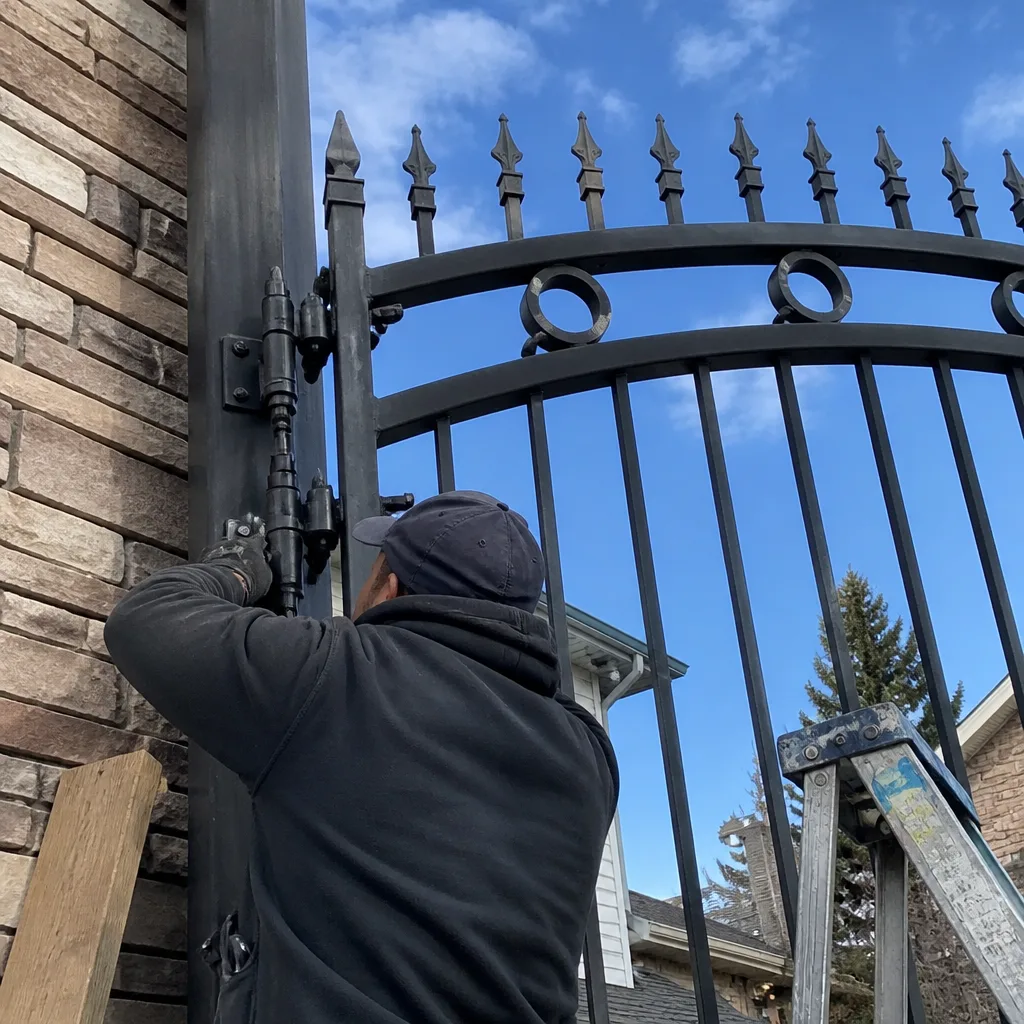
Last updated November 15, 2026
 Wood & steel frame
 Wrought iron
 Farm & ranch
 Sliding driveway gates
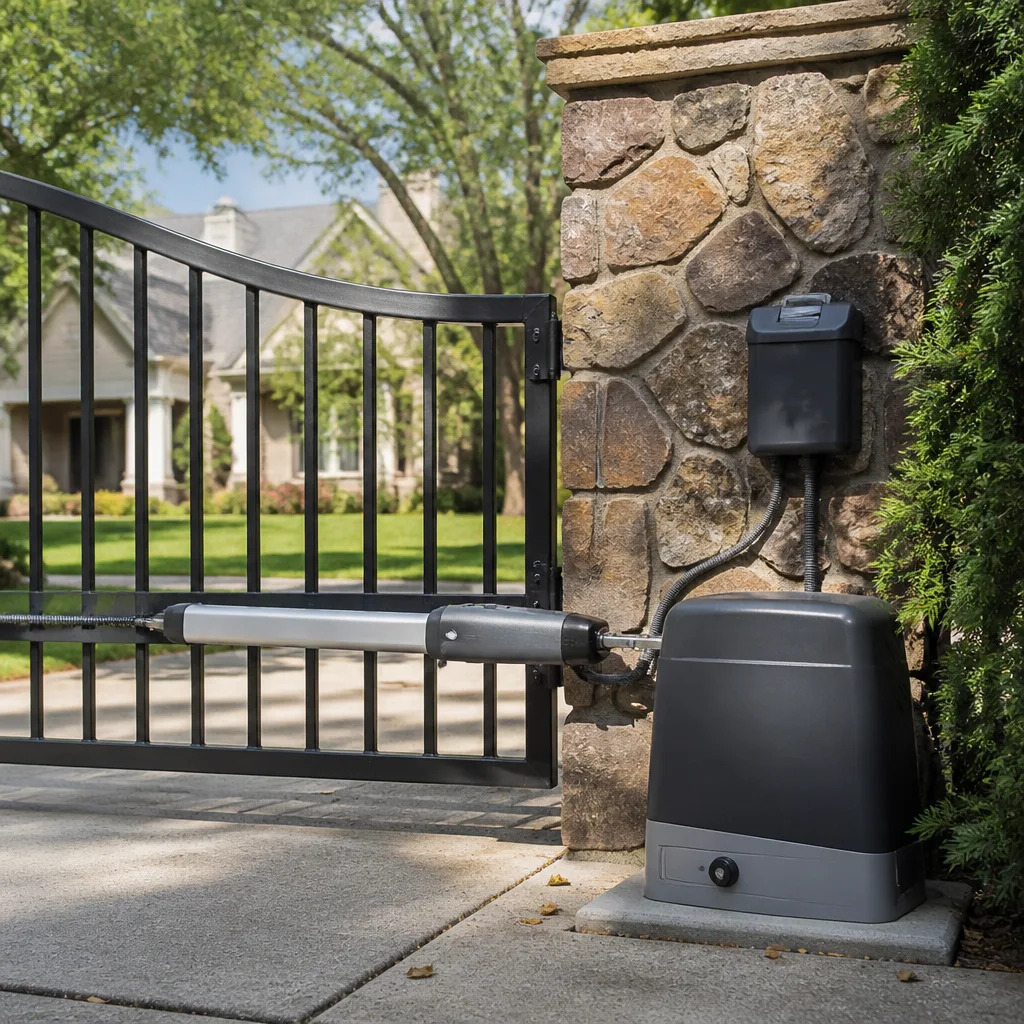 LiftMaster operators
Free on-site gate assessment - hinges, posts, and your LiftMaster or Nice gate operator checked before anything is quoted
The assessment is free and the quote is the invoice.
Get your free estimateGate Repair Troubleshooting in Lakewood: Common Problems and How to Fix Them
Most gate troubleshooting advice online assumes you shouldn’t touch anything. We take the opposite view. A gate is a mechanical system with a motor bolted to it, and plenty of what goes wrong is genuinely fixable by someone who can hold a wrench and follow a sequence. The trick is knowing which half of the system failed. Before you call anyone, push your gate open by hand. If it swings freely, the problem is electrical. If it grinds, catches, or refuses to budge, it’s mechanical. That single test cuts your diagnostic list in half, and it’s the first thing we walk a Lakewood caller through.
Quick Answer
Gate problems in Lakewood usually come down to three culprits: hinge wear, a misaligned strike plate, and control board corrosion. Start with the hand-push test to split electrical failures from mechanical ones. Then check the operator’s LED blink code, which on most residential units (including LiftMaster and Ghost Controls) follows the same basic pattern: count the blinks, and that’s your fault category. Limit switch adjustment and remote re-pairing are safe to handle yourself. Motor rewiring, control board work, and anything involving a heavy gate coming off its track need a trained technician.
Styles & brands we work with
- Wrought iron
- Wood & steel frame
- Farm & ranch
- Sliding driveway gates
- LiftMaster operators
Table of Contents
- The Hand-Push Test: Your First Diagnostic Step
- Mechanical Failures: Hinges, Strike Plates, and Sagging Gates
- Electrical Failures: Motors, Sensors, and Control Boards
- Reading LED Fault Codes Without the Manual
- Lakewood’s Clay Soil and Why Posts Lean
- Safe DIY Fixes vs. Jobs That Void Warranties
- Symptoms That Mean the Problem Will Come Back
- Common Mistakes to Avoid
- When to Call a Professional
- Frequently Asked Questions
The Hand-Push Test: Your First Diagnostic Step
The hand-push test is the fastest way to narrow down a gate problem. Disconnect the operator (most residential units have a manual release lever or key) and push the gate through its swing or slide by hand. What you feel tells you almost everything.
How to Run the Test
- Release the operator using the manual disconnect. On most LiftMaster, Linear, and Viking units this is a pull lever or a keyed release.
- Push the gate slowly through its full travel. Listen and feel for resistance, grinding, or catching at any point.
- Note where the resistance starts. At the hinge? At the latch? At a specific point mid-swing?
- Re-engage the operator and see if the gate moves at all under power.
If the gate moves freely by hand but won’t move under power, your motor, control board, or power supply is the problem. If it grinds or drags, the mechanical side needs attention first. Fixing the mechanical bind before you chase an electrical fault saves hours of guesswork. In our experience, about half the gates we diagnose in Lakewood have a mechanical issue that was mistaken for a dead motor.
Mechanical Failures: Hinges, Strike Plates, and Sagging Gates
Hinge wear is the most common mechanical failure we see on gates across Lakewood. Gate hinges take the full weight of the panel every time it swings, and after a few thousand cycles the bushings wear down. You’ll notice the gate sagging at the latch end, dragging on the ground, or requiring a lift to close.
Misaligned strike plates are the second most common culprit. A strike plate that’s off by a quarter inch will cause the latch to catch intermittently, which feels like the gate is “sticking” but is actually a latching problem. This is often mistaken for a hinge issue because the gate seems to bind near the latch.
- Sagging gate: hinge bushings worn or hinge bolts loosened. Check by lifting the gate at the free end; if there’s play, the hinges are the cause.
- Grinding mid-swing: hinge pin corrosion or a bent hinge strap. The gate will move freely at first, then bind partway through.
- Latch won’t catch: strike plate misalignment. Loosen the plate, shift it a quarter inch, retighten, and test.
- Gate dragging on the ground: post has leaned or settled, changing the gate’s geometry.
Replacing hinge bushings and realigning a strike plate are two of the safest DIY gate repairs. They require basic hand tools and don’t involve the motor or wiring. If your gate is sagging from post movement, that’s a different problem, and it’s covered below.
Electrical Failures: Motors, Sensors, and Control Boards
Electric gate repair is a specialist trade, and it’s what we do every day. When the hand-push test points to an electrical fault, the diagnostic order matters. Start simple and work toward the control board, because most electrical failures are simpler than they look.
- Check power at the source. Is the operator receiving voltage? A tripped breaker or a loose connection at the transformer will stop everything.
- Test the safety sensors. A misaligned or dirty photo-eye will prevent the gate from moving even when the motor is fine. Most operators blink a specific code for a sensor fault.
- Check the remote and receiver. If the gate works from the keypad but not the remote, the remote is the problem, not the gate.
- Inspect the control board. Look for corrosion, burn marks, or loose terminal screws. Corroded terminals are common in gate operators that sit exposed to weather.
- Test the motor directly. If the board is sending power but the motor doesn’t move, the motor is the fault.
We work on the full range of residential and commercial operators, from a Mighty Mule on a driveway gate to a DoorKing on a property entrance. The diagnostic sequence is the same regardless of brand. What changes is where the fault codes live and how the board reports them.
Electric gate repair covers the motors, control boards, sensors, and wiring. That’s the work general handymen typically decline, and it’s the reason a gate specialist is worth calling when the hand-push test points electrical. If your gate is failing on the electrical side, electric gate repair is the service that addresses it.
Reading LED Fault Codes Without the Manual
Most gate operators have an LED on the control board that blinks a fault code. You don’t need the manual for the basic pattern: count the blinks, pause, count again. The blink count tells you the fault category. Most residential units from Ghost Controls and LiftMaster use the same basic convention, and most professional units from FAAC and BFT follow a similar pattern.
The General Blink Pattern
- One or two blinks, then a pause: safety sensor fault. The photo-eye is blocked, misaligned, or wiring is loose.
- Three or four blinks: limit or travel fault. The operator doesn’t know where the gate’s open and closed positions are.
- Five or more blinks: motor or control board fault. This is the code that usually means a technician needs to look at it.
Confirm your unit’s specific pattern against its label, since the mapping isn’t universal. But as a diagnostic shortcut, the blink count gets you into the right category fast. If your gate is blinking a sensor code, check the photo-eye alignment before you do anything else. Nine times out of ten, a sensor fault is a misalignment or a dirty lens, not a failed sensor.
Lakewood’s Clay Soil and Why Posts Lean
Lakewood sits on clay-heavy soil, and that soil moves. It swells when wet and shrinks when dry, and that cycle pushes and pulls on gate posts year after year. A gate that was perfectly aligned when installed can go out of square after a few seasons simply because one post has shifted a fraction of an inch. This is one of the most common gate problems specific to Lakewood, and it’s the one most often misdiagnosed.
Signs Your Post Has Moved
- The gate swings freely but won’t latch properly, and strike plate adjustment doesn’t fix it.
- There’s a visible gap at the top or bottom of the gate on one side.
- The latch post and hinge post are no longer parallel.
- The gate drags on the ground in one position but clears it in another.
Spotting post lean early matters. A shifted post that’s corrected with new hinges and a strike plate adjustment will be back out of alignment within a season. Proper correction means addressing the footing, not just the hardware. Posts need proper footing depth for the gate’s weight and the soil conditions, and in clay soil that often means going deeper than a fence-post rule of thumb would suggest. If you’re seeing any of the signs above, a gate repair visit that checks the footing can save you from replacing hardware that was never the problem.
Safe DIY Fixes vs. Jobs That Void Warranties
Some gate repairs are genuinely safe for a homeowner to handle. Others create real hazards and can void your operator’s warranty. Here’s the honest split.
Safe to Do Yourself
- Remote re-pairing: follow the pairing sequence for your brand. No tools required, no risk.
- Limit switch adjustment: if your gate stops short of fully open or closed, adjusting the travel limits is a low-risk fix. Consult your manual for the sequence.
- Sensor cleaning and alignment: wipe the photo-eye lenses and confirm they’re aimed at each other. This fixes most sensor faults.
- Hinge bushing replacement: if you have basic tools and can support the gate’s weight, this is a safe mechanical fix.
- Strike plate adjustment: a quarter-inch shift is often all it takes. No disassembly needed.
Leave to a Trained Technician
- Control board rewiring: a miswired board can destroy the operator and creates a shock hazard.
- Motor replacement: the motor is the most expensive component on the operator, and incorrect installation damages the new unit.
- Anything involving the power run: if the wiring from the house to the gate needs work, that’s electrical work, and it needs to be done correctly and safely.
- Heavy gate panels: a gate that’s come partly off its track or hinges is a crush hazard. Don’t try to lift it back into place alone.
One more caution: on any gate, the dangerous parts are the operator’s power wiring, the weight of a heavy panel that can crush, and a slide gate that’s come off its track. Those are the three things to never attempt yourself. A slide gate that’s jumped its track can move suddenly and trap a hand or foot. If your gate has come off the track, stop and call a specialist.
Symptoms That Mean the Problem Will Come Back
Some gate problems respond to a quick fix and stay fixed. Others look cured but come back within weeks, because the fix addressed the symptom instead of the cause. If you’re seeing any of the following, the problem needs a deeper repair.
- The gate resets and fails again within days. A control board that resets spontaneously has a failing component, and resetting the gate only postpones the failure.
- Hinges wear out repeatedly. If you’ve replaced hinge bushings and they’re worn again in a season, the gate is out of square and the hinges aren’t the root cause.
- The latch catches intermittently. Intermittent latching that survives a strike plate adjustment means post movement, not plate misalignment.
- Sensor faults return after cleaning. A sensor that trips repeatedly after cleaning has a failing component or a wiring problem.
- The gate works from one control but not another. If the keypad works but the remote doesn’t, the receiver is failing, and re-pairing the remote is a temporary fix.
These symptoms have one thing in common: the quick fix buys a few weeks, then the problem returns. That’s your signal to stop re-pairing, stop resetting, and get the root cause diagnosed. In Lakewood, the repeat problem is usually post movement from clay soil, or control board corrosion from exposure to weather. Both need a proper fix, not a reset.
Common Mistakes to Avoid
- Resetting the operator without reading the LED code. A reset clears the symptom and wipes the fault code that would have told you what failed. Read the code first, reset second.
- Adjusting hinges when the post has moved. In Lakewood’s clay soil, a sagging gate usually means the post has shifted, not that the hinges are worn. Replacing hinges on a shifted post wastes money and the sag returns.
- Re-pairing a remote when the receiver is failing. If the remote keeps losing its pairing, the receiver is the problem. Re-pairing it repeatedly is a diagnosis of the symptom, not the cause.
- Ignoring a sensor fault that clears itself. A sensor that faults intermittently has a loose wire or a failing component. It will fail again, and the gate can close on a person or a car when it does.
- Assuming a dead gate means a dead motor. Run the hand-push test first. A binding mechanical fault will stop a perfectly healthy motor, and replacing the motor won’t fix the bind.
- Working on the power wiring without training. The wiring from the house to the gate carries full household voltage. A mistake there is a shock hazard, and it can also damage the operator’s control board.
- Buying a new operator when the board is a simple fix. Board corrosion is common and often repairable. Getting an on-site diagnosis first is cheaper than replacing the unit.
When to Call a Professional
Some failures are worth a service call, and some are worth a full diagnosis rather than a reset. Call a specialist if the hand-push test points to an electrical fault and the LED code is five blinks or more, if the gate has come off its track or is dragging under its own weight, if the control board shows corrosion or burn marks, or if a gate problem has returned after two or more attempts at a fix. Electric gate work in particular needs a dedicated gate technician, because the motors, control boards, sensors, and wiring that a general handyman declines are the everyday work of a gate specialist. We work on nine major system brands, from a Mighty Mule on a residential driveway to a FAAC or DoorKing on a light-commercial property. Lakewood Gate Repair offers free estimates in Lakewood, CO. Call (866) 330-9331 for a free estimate. We answer 24/7. Fast dispatch from 7am to 7pm, Sunday through Friday.
Frequently Asked Questions
Run the hand-push test. Disconnect the operator, push the gate by hand, and feel for resistance. If it moves freely, the problem is electrical. If it grinds, catches, or won’t budge, it’s mechanical. This one test splits your diagnostic list in half and is the first thing we recommend to any Lakewood caller. Call (866) 330-9331 for an exact quote if the test leaves you unsure. Estimates are free.
You can safely handle limit switch adjustment, remote re-pairing, sensor cleaning and alignment, hinge bushing replacement, and strike plate adjustment. Control board rewiring, motor replacement, power-run wiring, and anything involving a heavy gate off its track need a trained technician. If the gate has come off the track, stop and call. Estimates are free, so call (866) 330-9331 before you spend money on parts that might not be the problem.
Lakewood’s clay-heavy soil moves with wet and dry cycles, and that movement pushes and pulls on gate posts. A post that’s shifted slightly will throw the gate out of alignment, and no amount of hinge or strike plate adjustment will hold if the post is moving. The fix is to address the footing, not the hardware. If your gate has been realigned before and slipped back within a season, a Lakewood gate specialist should check the posts before you do anything else. Call (866) 330-9331 for an exact quote. Estimates are free.
The blink count tells you the fault category. One or two blinks usually means a safety sensor fault. Three or four blinks means a limit or travel fault. Five or more blinks means a motor or control board fault. Most residential units from LiftMaster and Ghost Controls follow this pattern, and most professional units from FAAC and BFT are similar. Read the code before you reset the operator, because a reset wipes the code. If the code points to the board, call (866) 330-9331 for an exact quote. Estimates are free.
It depends on what’s failing. Board corrosion is often repairable, and a control board fix is far cheaper than a new operator. Motor failure on an aging unit is a judgment call between repair and replacement. The honest answer is to get an on-site diagnosis before you decide, because a dead operator isn’t always a dead motor. Call (866) 330-9331 for an exact quote. Estimates are free, and the written estimate sets the final price before any work starts.
We work on nine major gate system brands: LiftMaster, FAAC, BFT, Linear, Viking, Ghost Controls, DoorKing, Elite, and Mighty Mule. That covers residential DIY systems and light-commercial operators. We’re familiar with both mass-market brands and professional-tier systems, so whatever your gate is running, we’ve worked on it. For an exact quote, call (866) 330-9331. Estimates are free.
The Bottom Line
Most gate problems come down to a short list: hinge wear, strike plate misalignment, and control board corrosion. The hand-push test narrows the list to electrical or mechanical before you spend a dollar on parts. Read the LED code before you reset the operator. In Lakewood, clay-heavy soil makes post movement a frequent cause of alignment problems, so check the footing before you replace hardware that isn’t the root cause. Handle limit switches, remotes, sensors, and bushings yourself. Leave board wiring, motor replacement, and heavy panels to a specialist. When the quick fix keeps coming back, that’s the signal to call. Lakewood Gate Repair offers free estimates. Call (866) 330-9331 for a free estimate. We answer 24/7. Fast dispatch from 7am to 7pm, Sunday through Friday.
Written by the team at Lakewood Gate Repair.
See the difference
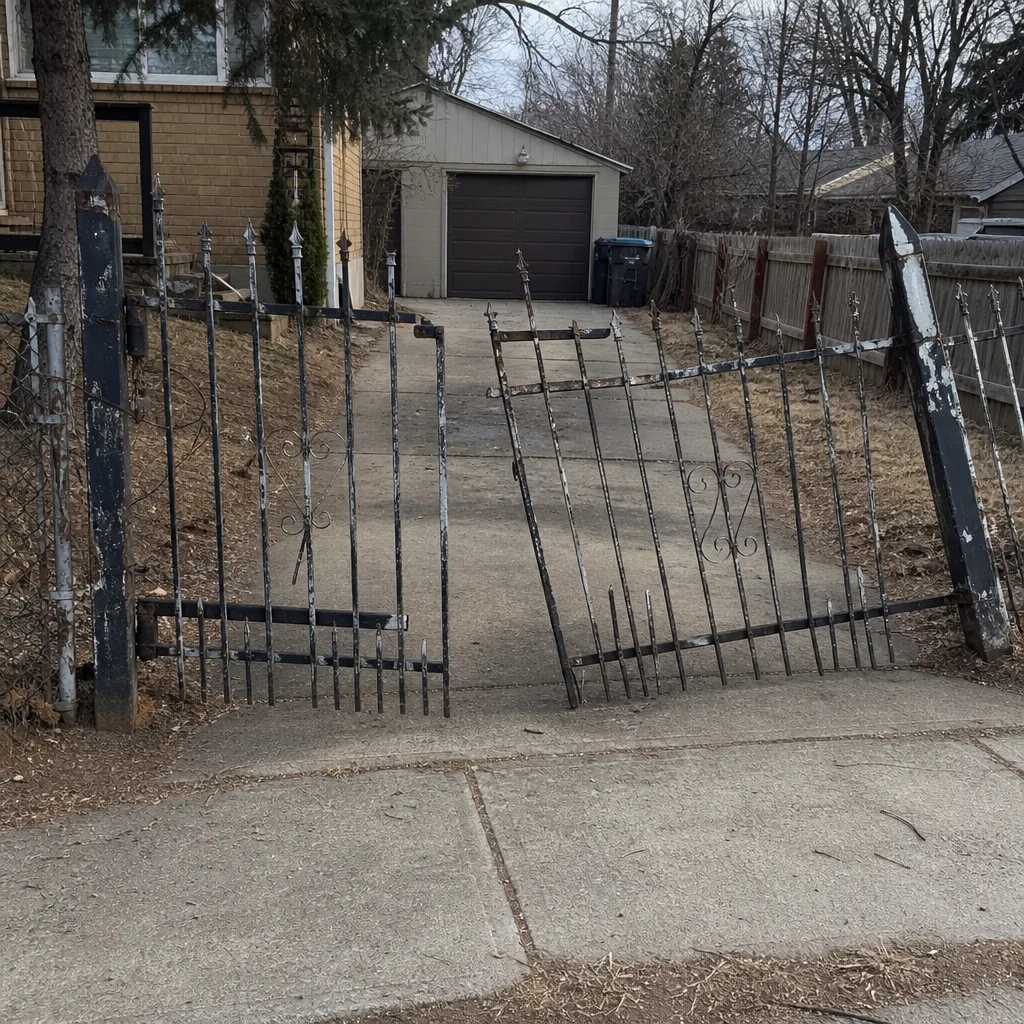 Before
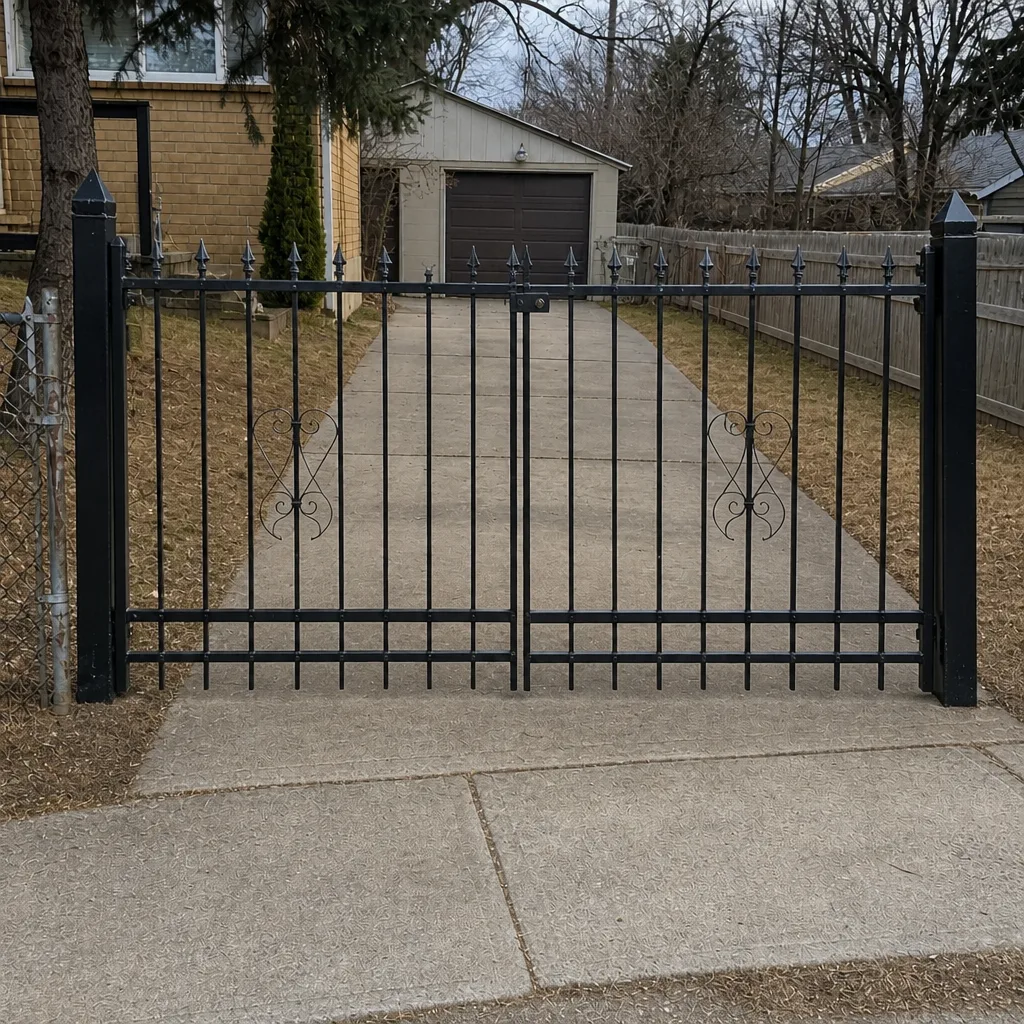 After
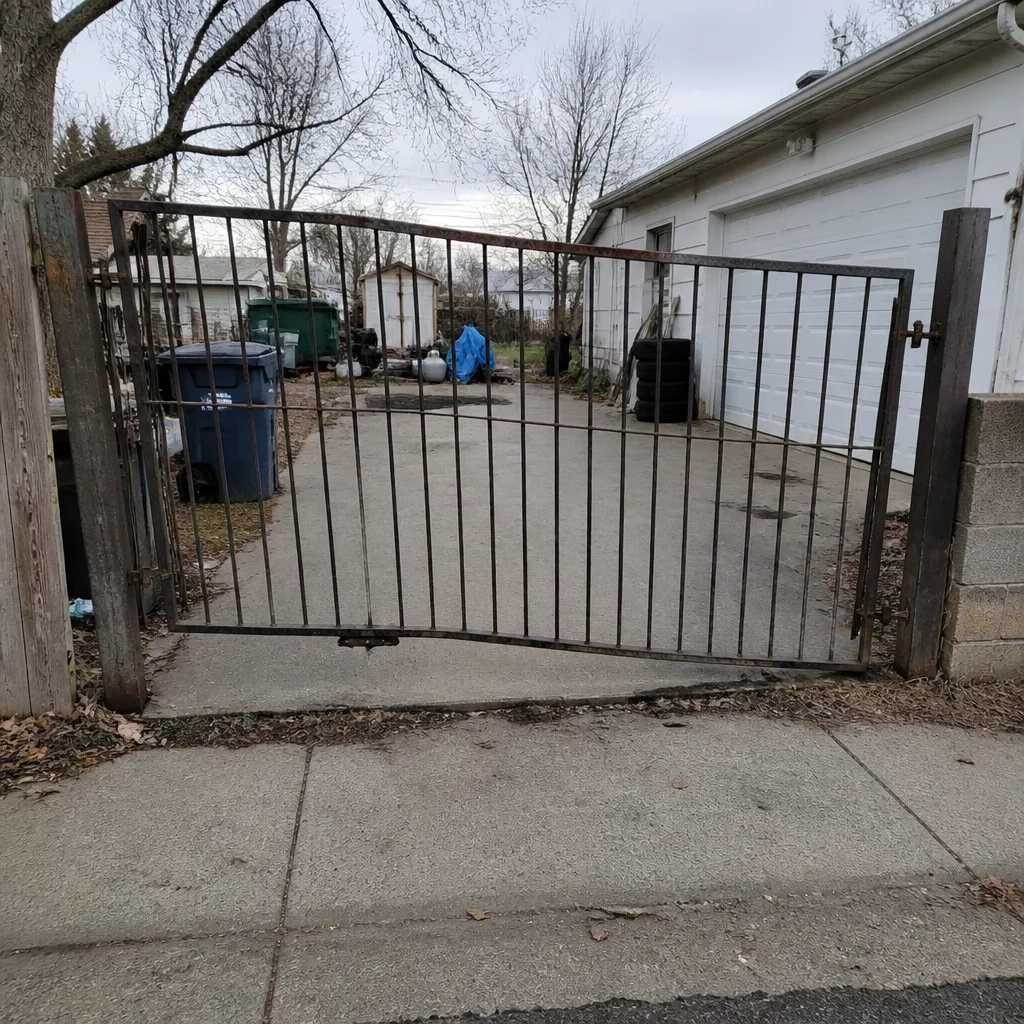 Before
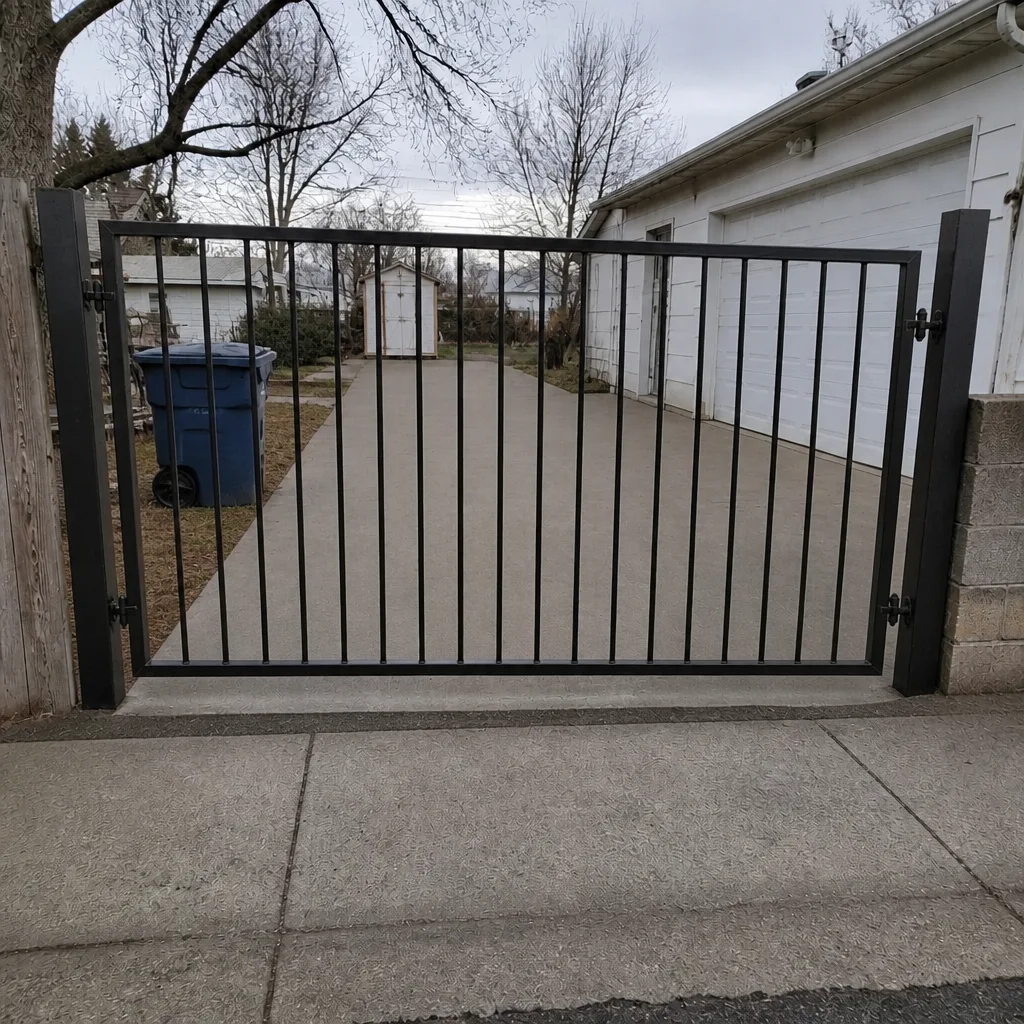 After
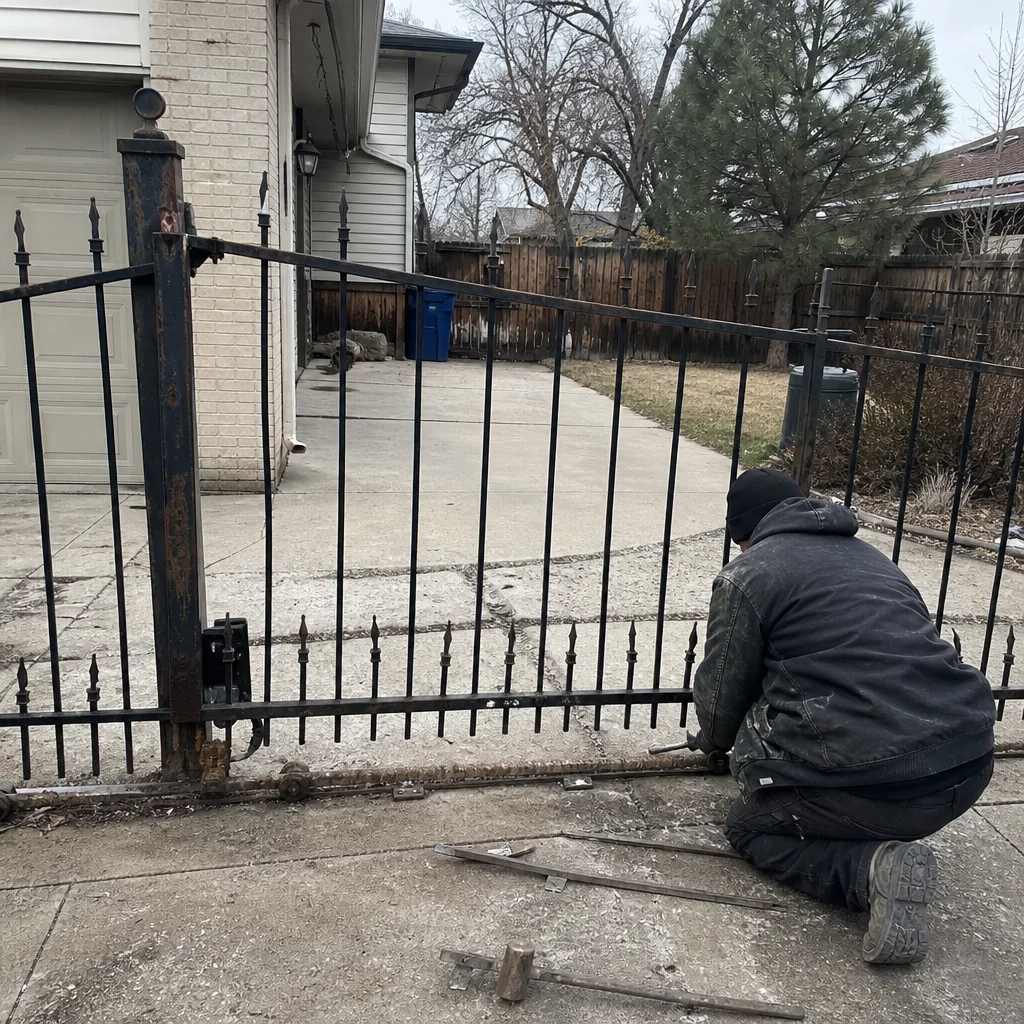 Before
 After