
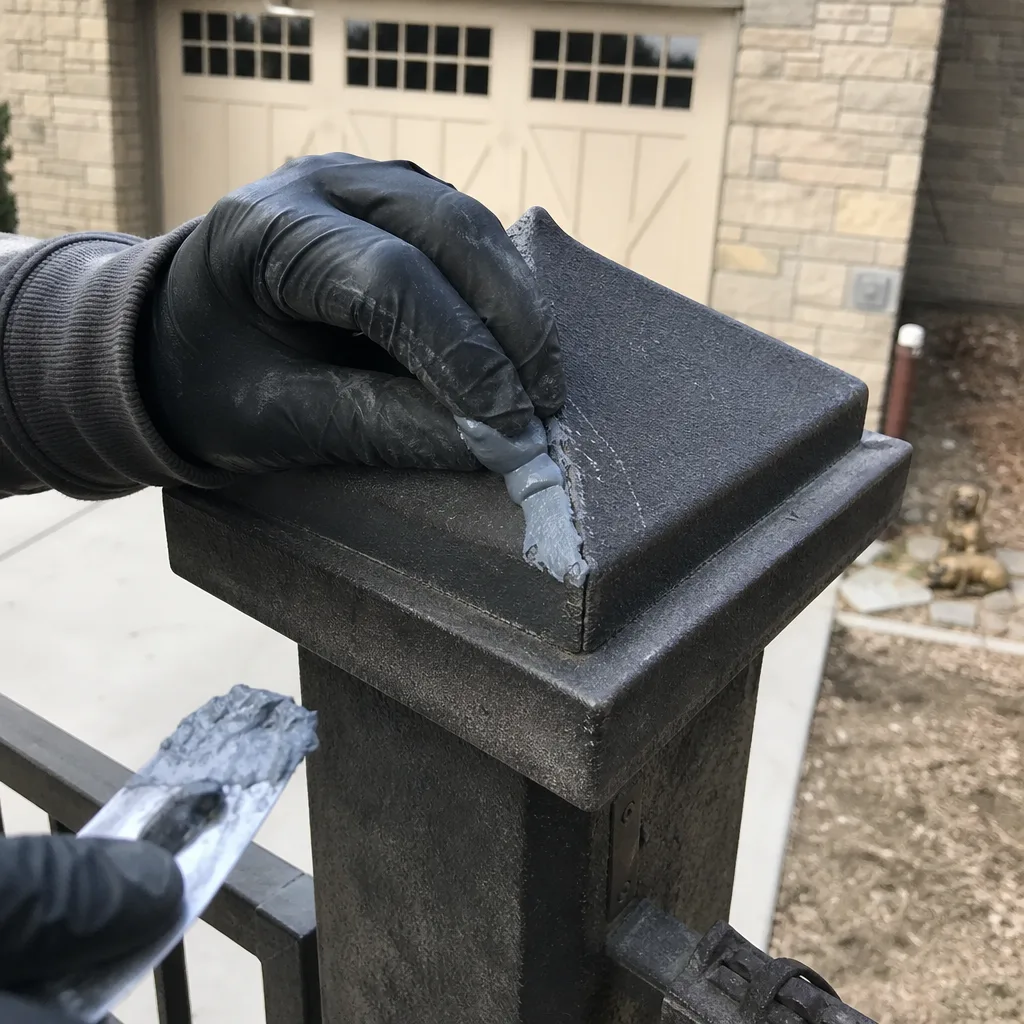
Last updated November 15, 2026
 Wrought iron
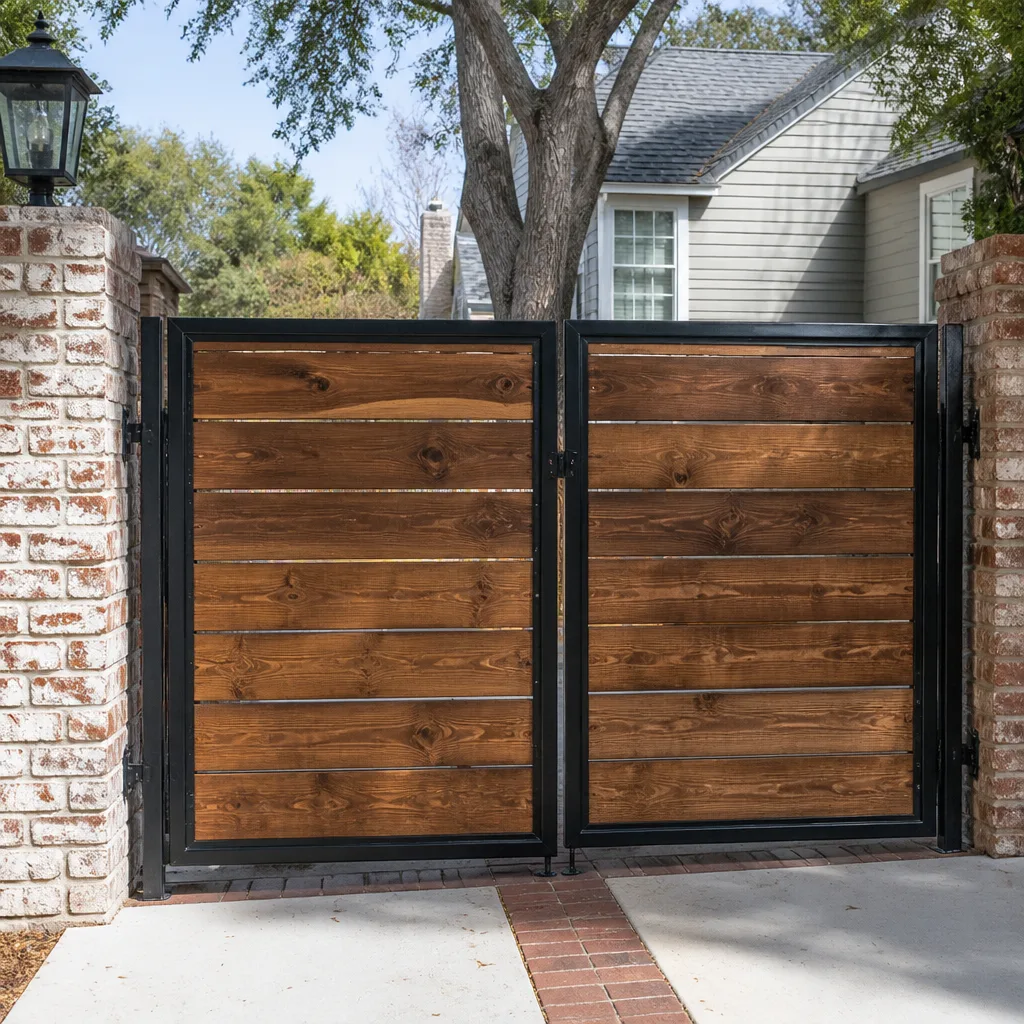 Wood & steel frame
 Farm & ranch
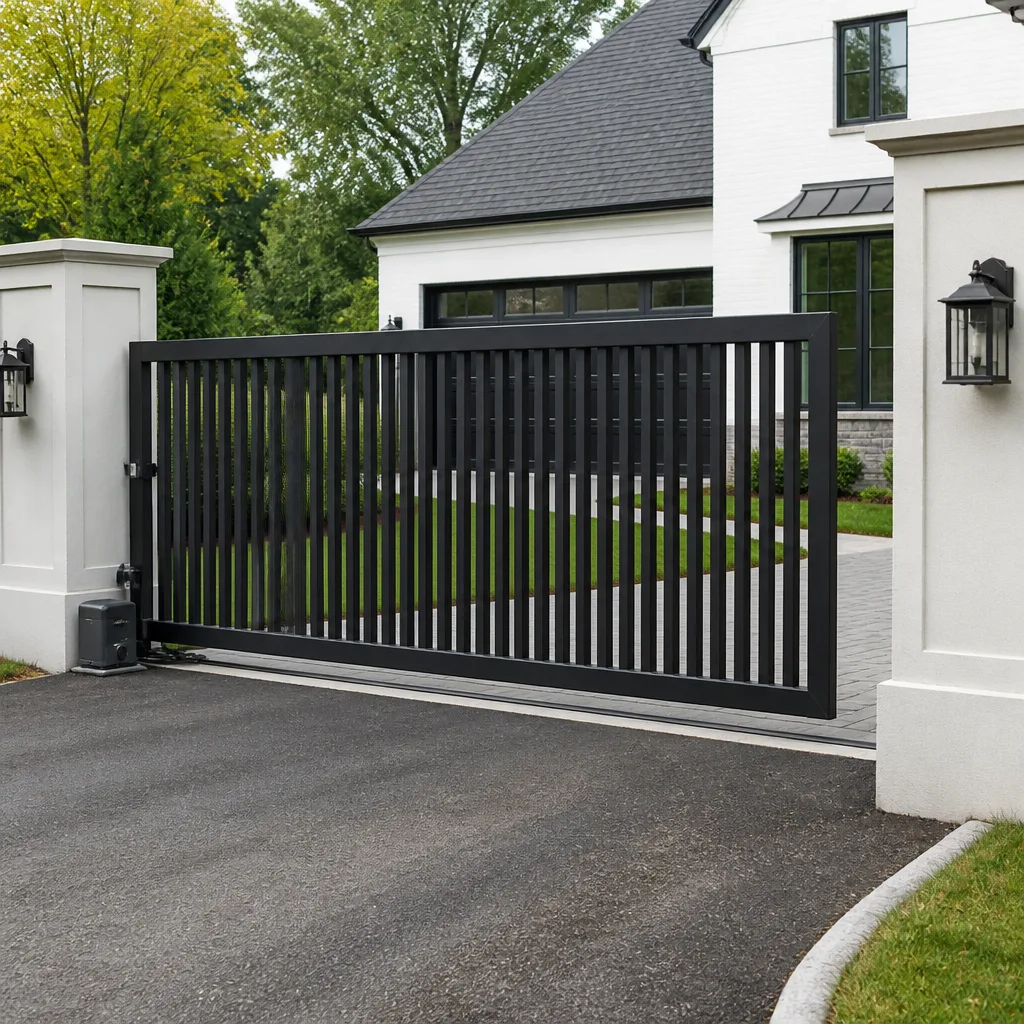 Sliding driveway gates
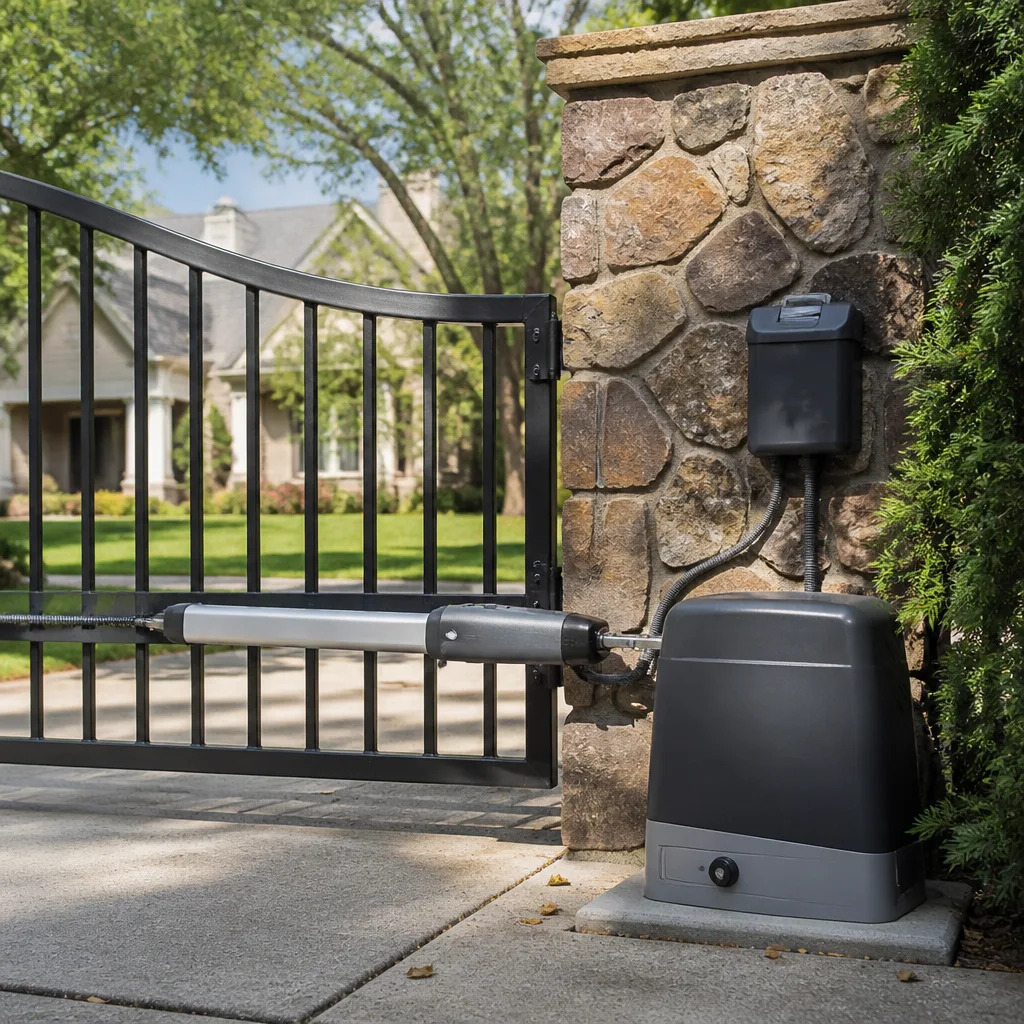 LiftMaster operators
Free on-site gate assessment - hinges, posts, and your LiftMaster or Nice gate operator checked before anything is quoted
The assessment is free and the quote is the invoice.
Get your free estimateGate Repair Maintenance Schedule: What to Do and When
The most expensive gate repair calls we get come in March and November, and the reason isn’t neglect. It’s that most owners maintain their gate on a calendar instead of a climate. A spring tune-up and a fall tune-up feel organized, but a gate in Lakewood doesn’t fail on a schedule that tidy. It fails when the ground heaves, when a wind gust loads a panel the operator wasn’t sized for, or when a battery that has sat quiet all summer finally gets asked to do its job during a winter outage. What follows isn’t a monthly checklist. It’s a shorter list of the three moments that actually matter along the Front Range, plus the specific tests and tasks worth doing at each one.
Styles & brands we work with
- Wrought iron
- Wood & steel frame
- Farm & ranch
- Sliding driveway gates
- LiftMaster operators
Quick Answer
A gate maintenance schedule in Lakewood should be built around three seasonal checkpoints, not a monthly routine: a pre-winter service that tests battery backup, lubrication, and freeze readiness; a post-thaw inspection after the last hard freeze; and a mid-summer pass on UV-exposed components like photo-eyes, control enclosures, and keypads. Safety reversal and obstruction sensors should be tested monthly by the owner with a defined pass/fail standard, and a technician should load-test the battery backup before cold weather arrives. Skipping any of these creates the failures that show up in repair calls most often in March and November.
Table of Contents
- Why a Climate Calendar Beats a Monthly Checklist
- The Pre-Winter Gate Service (October to November)
- The Post-Thaw Inspection (March to April)
- Mid-Summer: UV, Heat, and Photo-Eye Drift
- Lubrication Points That Actually Matter on Swing vs. Slide Gates
- How to Test Safety Reversal and Obstruction Sensors Yourself
- Battery Backup Health: The Test Nobody Runs
- What a Professional Maintenance Visit Should Include
- Common Mistakes to Avoid
- When to Call a Professional
- Frequently Asked Questions
- The Bottom Line
Why a Climate Calendar Beats a Monthly Checklist
Generic maintenance advice tells you to “check your gate monthly.” That’s not wrong, but it’s not useful either, because it doesn’t tell you what you’re actually looking for. A gate is a mechanical system that responds to temperature, moisture, and wind load. In Lakewood, all three of those change enough between seasons that a task you’d skip in June is critical in October, and a task that matters in February is a waste of time by April.
Here’s the physical picture. Lakewood sits on the eastern edge of the Front Range, on ground that freezes and thaws repeatedly through winter. When soil freezes, it expands. When it thaws, it contracts. This cycle pushes on fence posts, gate hinges, and the concrete footings under electric slide track. That movement shows up as a sagging gate leaf, a swing gate that won’t latch, or a slide gate that jumps the track. The pre-winter and post-thaw services exist because those two moments are when the freeze-thaw cycle does its most damage.
Wind is the other front. Chinook winds pushing through the Front Range can put heavy load on gate panels, and an operator sized for a mild day is sometimes asked to work against something much stronger. Spring is when we tend to see operator strain on swing gates with wide leaves and light-duty actuators. A maintenance visit that catches a stressed arm or a worn pinion before it fails saves a repair call later.
Then there’s UV. Colorado sits at higher elevation than most of the country, which means more intense sun exposure on anything that sits outside for years. Photo-eyes, control enclosures, keypads, and the plastic components inside LiftMaster and Linear operators collect that UV damage quietly. A mid-summer pass catches cracking housings and hazy sensor lenses before they cause an intermittent fault that’s hard to diagnose in October.
The reason this matters for a Lakewood property is simple. A climate-specific schedule catches problems when they’re cheap to fix. A generic schedule catches them when they’ve already failed.
The Pre-Winter Gate Service (October to November)
The pre-winter service is the most important single visit of the year for a Lakewood gate, and it should happen sometime between early October and mid-November, before the first hard freeze settles into the ground. The goal is to make sure the gate is ready to sit through cold weather without developing a problem it will present to you in February.
What the service should cover:
- Battery backup load test. This is the one most often skipped. A backup battery can show a full-charge reading on a simple tester and still fail under load. The only meaningful test is running the gate on battery power with the AC disconnected for a controlled number of cycles and watching the actuator response. If the operator slows noticeably or fails a cycle, the battery needs replacement before winter.
- Lubrication pass with the correct product. Not WD-40, and not a random spray can from the garage. More on this in the lubrication section, but the key point is that the wrong product dissolves the grease already in the hinge pins, rollers, and actuator arm joints and leaves the gate worse off than if you’d done nothing.
- Full hardware torque check. Bolts on hinges, hinges to posts, track brackets, and operator mounting arms loosen through the year. All of them should be checked and re-torqued before freeze season.
- Photo-eye realignment and lens cleaning. Cold weather makes the plastic housings on FAAC and BFT photo-eyes more brittle, and any lens haze or misalignment will cause nuisance trips during the low sun angles of winter.
- Control enclosure check. Open the box, look for insect intrusion, moisture, corrosion on terminal strips, and any loosened wire nuts. Winter is when moisture finds its way into a poorly sealed enclosure, and it does it slowly.
- Post and footing inspection. Walk the fence line and gate posts. Any post showing lifted concrete, a widening gap at the base, or a visible lean is a candidate for re-setting before winter, not after.
- Safety reversal test. Run the test described further down against a firm object and against the physical obstruction, record the result, and fix any failure before the cold arrives.
Do this pass once, properly, and the winter months get quieter. Defer it and you’re rolling the dice on every cold snap, because you won’t know which component failed until the gate stops working in a moment that’s inconvenient.
The Post-Thaw Inspection (March to April)
This is the second critical checkpoint, and it’s the one where most of the March repair calls land. The pre-winter service readied the gate. The post-thaw inspection confirms it survived the season, and catches what the freeze-thaw cycle did to the ground underneath.
What to check at the end of the thaw:
- Post plumb. A fence or gate post that was plumb in October can be noticeably out of plumb by April. Measure it against a level. If the gate has begun to sag or the swing arm is binding, a shifted post is often the reason.
- Slide gate track and footing. The concrete footing under a slide track takes the full weight of warm-season gate operation and was under freeze-load all winter. Look for cracks along the track, lifted sections, or a track that no longer lies flat. A slide gate that jumps the track in spring almost always has a footing story behind it.
- Latch alignment on swing gates. If the gate no longer latches cleanly, the frame or posts have moved. That’s a mechanical alignment issue, not a latch issue, and it needs to be corrected at the hinge or post level.
- Hinge pin wear. Winter operation with degraded grease finishes off hinge pins faster than any other season. Rock the gate leaf gently on its hinges and feel for play. Excessive play means a pin, bushing, or hinge replacement.
- Operator arm and pinion lube. Re-grease the operator arm joints and the pinion area on the slide operator. Look at motor temperature after a full cycle; a straining motor is running hotter than it should.
- Full obstruction test on the safety edges. Safety edges that were stiff in the cold may function correctly again by spring, or they may have cracked during the winter. Test each one.
- Emergency release. Manual release on the operator should operate smoothly. If the release is stuck, you’d be locked out in the event of a power failure, and that needs to be corrected.
- Wire connections. Check the low-voltage connections at the operator, keypad, and photo-eyes. Cold weather and ground movement pull on outdoor wiring, and a loosened terminal is a common cause of “the gate just stopped” calls in March.
If the gate came through the winter well, this visit is short. If it didn’t, you’re catching it in the window where the repair is small.
Mid-Summer: UV, Heat, and Photo-Eye Drift
Summer in Lakewood isn’t the season that breaks gates the way winter does, but it’s when slow damage accumulates. The components most exposed to sun on a residential or light-commercial gate are the photo-eye housings, the control enclosure, keypads and access readers, and the plastic parts inside the operator that were never designed to sit in intense sun for years.
What to do in July and August:
- Clean every photo-eye lens. Dust and sun-haze build up on the lenses and cause intermittent triggering, especially at the low sun angles of late afternoon. Wipe the lenses with a soft, dry cloth and verify alignment.
- Check enclosure seals and gaskets. Look at the lid gasket on the control box. Any cracking or shrinkage lets in summer dust and monsoon moisture later, which is the combination that corrodes terminal strips.
- Look at the reader or keypad housing. Cracked plastic on a LiftMaster or Linear access reader is common by mid-summer and cheap to replace. Ignore it and rain gets in.
- Verify operator cooling. The control enclosure needs its vents clear. If the box is mounted against a wall that captures afternoon sun, check that the internal temperature isn’t climbing above the operator’s rated range. A heat-stressed control board causes intermittent faults that only appear in the heat.
- Watch track and hardware expansion. Metal expands in the heat. A slide gate that was in alignment at 60 degrees may bind at 95. If the gate drags or stalls in mid-summer, that’s the reason, and it needs correction before the motor overheats.
- Test the operator on a full cycle in the hottest part of the day. That’s when a thermally stressed motor or a weak actuator board shows its fault most clearly.
One mid-summer visit catches all of this in about the time it takes to run through the pre-winter list. The advantage is that you’re fixing UV damage before it becomes a winter fault.
Lubrication Points That Actually Matter on Swing vs. Slide Gates
The single most common lubrication mistake we see is WD-40. It’s the can everyone reaches for, but on a gate it’s the wrong tool. WD-40 is a light solvent-based product. It thins the factory grease that’s already inside hinge pins, bushing sleeves, and nylon rollers, and then it evaporates. The gate ends up dryer than it started, and nylon rollers in particular wear faster once the grease film is gone.
What works:
- White lithium grease or a heavy gate grease for the hinge pins, actuator arm joints, track carriage rollers on a slide gate, and the pinion area on the operator.
- Silicone-based dry lubricant for nylon rollers, bushings, and any plastic-to-metal contact points where grease would collect grit.
- Graphite only for locks and keyways, and rarely needed on a gate.
The lubrication points differ between swing and slide gates:
- Swing gate. Top and bottom hinge pins, hinge sleeves, the actuator arm joints (both ends), the latch mechanism, and the manual release on the operator.
- Slide gate. Each track carriage roller (usually four or more per leaf), the track itself, the pinion and the rack on the operator, the guide rollers at the base and top, and the manual release.
- Either type. The control enclosure hinges and latches, keypad or reader hardware, and photo-eye brackets.
Frequency: twice a year in Lakewood, aligned with the pre-winter and post-thaw visits, is enough for most residential gates. Light-commercial gates that run dozens of cycles a day may want a mid-summer pass as well. The rule is less is more, applied to the right points, with the right product. A gate doesn’t need more grease. It needs the correct grease at the load-bearing points, and none on the operating surfaces where grit would collect.
How to Test Safety Reversal and Obstruction Sensors Yourself
Safety reversal and obstruction sensing is the one piece of gate maintenance a homeowner should do every month, and the one most often done badly. “Make sure it stops” is not the standard. The standard is that the gate must reverse, or not close at all, under the specific conditions below. Every test should be performed while you are standing somewhere the gate will not swing into or slide across you, with a second person able to reach the stop control.
- Photo-eye obstruction test. Start the gate closing. Break the beam between the two photo-eyes with a firm, upright object roughly the height of a small child or a medium dog (an empty box works). The gate must reverse within a short distance, typically before it has moved another foot. Pass: it reverses. Fail: it continues, or reverses only after the object is set down.
- Physical obstruction test on the safety edge. Start the gate closing. While the gate is moving, press a firm board against the safety edge on the leading edge of the gate. The gate must reverse. A slow response or a partial stop is a fail. Never use a hand, a limb, or a person for this test.
- Photo-eye misalignment test. Cover one photo-eye lens with your hand. Start the gate. It must not close at all while the beam is broken. If it does, the photo-eyes are not actually wired into the close cycle, and that’s a hard fail.
- Manual release test. Power off. Engage the manual release. The gate must move freely by hand. If the release sticks or the gate is jammed when released, the operator or gate mechanism has a fault that requires service.
- Power failure test. With the gate closed, disconnect operator AC power (at the breaker, not at the operator). Confirm whether the gate runs on battery backup, if the operator has one. If it doesn’t, note this for a technician. If it does, watch how many cycles the gate completes before failing. That’s your backup health figure.
- Emergency stop test. Engage the stop (keypad button, control panel, or whatever function your operator uses). The gate must halt immediately. Then verify the reverse function still works after re-enabling.
The pass/fail threshold to hold yourself to: every test above must produce an immediate and complete response. Any hesitation, any partial response, or any need to repeat the test to get a pass is a fail. A gate that sometimes reverses is more dangerous than one that never does, because everyone around it has learned to trust it. If any test fails, stop operating the gate closing cycle and call a technician.
Battery Backup Health: The Test Nobody Runs
Most gate operators installed in Lakewood have a battery backup, and most of those backups have never been load-tested. This is the single failure that dings a homeowner hardest in winter, because the gate works perfectly on AC power all year, and then the one time the power fails – during a cold-weather outage – the gate doesn’t move. Not because the operator is broken, but because the battery that looked fine has lost the capacity to run the gate under load.
Why this happens: lead-acid and sealed gel batteries used in gate operators age on a schedule, not on a failure. A battery that reads 12.6 volts on a multimeter can still be unable to deliver the current the operator needs to complete a cycle, especially in cold weather when battery capacity drops. Only a load test reveals this.
What a proper load test looks like:
- Disconnect operator AC power at the breaker.
- Cycle the gate open and closed on battery alone, watching the actuator.
- Count successful cycles, and note any slowing, hesitation, or partial cycle.
- If the gate slows noticeably or fails to complete a cycle within a handful of open-close rounds, the battery is at end of life.
- Reconnect AC power and verify normal operation.
Do this test during the pre-winter service, once a year, and always before the first freeze. Most operators built on LiftMaster and Linear control boards will show battery status on the LED indicator, but those indicators reflect voltage, not load capacity. Trust the cycle test, not the light.
If the battery fails the test, replace it. It’s the cheapest failure to prevent, and the most disruptive one to discover mid-winter.
What a Professional Maintenance Visit Should Include
If you’re paying a technician to maintain your gate, you should know what that visit should include, so you can hold the work to a standard. A brief “checked over and adjusted” isn’t enough for a system that could seriously injure someone if a safety component fails.
A complete professional maintenance visit should include:
- Full visual and mechanical inspection of gate leaf, frame, posts, and footings.
- Lubrication of all load-bearing points with the correct product by gate type.
- Torque verification of all hardware: hinges, brackets, arm joints, and track fasteners.
- Operator inspection: motor, gearbox, pinion, controller, and manual release.
- Load test of the battery backup on the operator if one is installed.
- Full safety reversal and photo-eye test, with written results and any corrective action noted.
- Control enclosure inspection: wiring, terminal strips, seals, and insect intrusion.
- Access control check: keypad, reader, remote, or intercom function, as installed.
- Written summary of findings, with any recommendations separated from the routine service.
What a maintenance visit is not: it’s not a time for the technician to sell you a service plan or a warranty. If a component needs replacement, the price should be quoted and agreed in writing before the work starts. Any gate specialist should be willing to show you the test results, the components they checked, and the parts they recommend replacing with the price in front of you.
When it’s time for maintenance on your property, Lakewood Gate Repair offers free estimates and works on both residential and light-commercial gates. Our technicians have up to 12 years of experience across LiftMaster, FAAC, BFT, and other major gate systems, and we do gate repair and electric gate repair as a dedicated trade, not as a side service.
Common Mistakes to Avoid
- Using WD-40 as a gate lubricant. It strips the existing grease and doesn’t replace it. Nylon rollers on slide carriages wear much faster once that grease film is gone, and hinge pins begin to squeak within weeks.
- Assuming “it works on AC power” means the battery is fine. Winter outages expose untested backups. If you haven’t run a load cycle test on the battery in the last year, you don’t know whether the gate will run when the power fails.
- Skipping the post-thaw inspection. The freeze-thaw cycle is doing its damage in the ground while the gate sits. By the time it surfaces as a sagging leaf or a track that won’t hold alignment, the repair has grown beyond a quick adjustment.
- Greasing every moving part. Grease on a slide track collects grit and forms an abrasive paste that wears down rollers and the track surface. Grease goes on the pinion, the hinge pins, and the arm joints, not on the operating track surface.
- Treating photo-eyes as a “set and forget” component. Lenses haze in UV, brackets loosen with wind, and wiring pulls on cold nights. If you haven’t tested them this month, you don’t know they’re working.
- Replacing a motor before diagnosing the door. A surprising share of “the operator is dead” calls are a binding gate, a worn hinge, or a track out of alignment. The motor is doing what it can against a load it wasn’t meant to move.
- Ignoring small alignment changes in winter. A gate that latches 90% of the time in January is telling you something. Wait until March to fix it and the misalignment has been grinding the latch and hinge for ninety days.
When to Call a Professional
Most maintenance tasks on the seasonal calendar are within reach for a careful homeowner: the photo-eye cleaning, the visual inspections, the monthly safety tests. What’s not within reach is the work that requires trained hands and diagnostic tools. Call a technician when a safety reversal test fails and you can’t correct it with photo-eye realignment, when the operator runs hotter than usual or stalls partway through a cycle, when the gate sags or binds after a thaw and the post or footing is the cause, when wiring shows corrosion or a loose terminal, or when the battery fails a load test and you need replacement. Call also when you’re not sure what’s wrong. A quick diagnostic is easier than an unguided attempt, and on a gate with a heavy leaf or an electric operator, an untested safety component is a real hazard. Lakewood Gate Repair offers free estimates in Lakewood – call (866) 330-9331. We answer 24/7. Fast dispatch from 7am to 7pm, Sunday through Friday.
Frequently Asked Questions
Twice a year is the right cadence for most Lakewood gates: once in October or November before the first hard freeze, and once in March or April after the last thaw. A mid-summer pass on UV-exposed components like photo-eyes and control enclosures is worth adding for electric gates. In between those visits, monthly safety reversal tests are the homeowner’s job. Call (866) 330-9331 to schedule a free estimate on a maintenance visit.
No. WD-40 is a solvent-based product that thins the existing grease inside hinge pins, bushings, and nylon rollers and then evaporates. Use white lithium grease or a heavy gate grease for hinge pins, arm joints, and the pinion, and a silicone dry lubricant for nylon rollers and bushings. If your gate has been WD-40’d for years, the first professional service should include a proper re-grease.
Yes. Break the photo-eye beam with a firm object while the gate is closing, and the gate must reverse within roughly a foot. Press a board against the safety edge while the gate closes, and it must reverse immediately. If the gate does not close at all when one photo-eye is covered, that’s the correct behavior. Any hesitation, or needing to repeat the test for a pass, counts as a fail. If a test fails, call (866) 330-9331 for a diagnostic.
Battery backup is strongly recommended on any electric gate in Lakewood, because winter outages are when you most want the gate to keep working. If your operator has one, load-test it once a year before winter by running the gate on battery alone. If it fails to complete several cycles without slowing, replace the battery. We can source batteries for LiftMaster, Linear, FAAC, BFT, and other operators.
We service LiftMaster, FAAC, BFT, Linear, Viking, Ghost Controls, DoorKing, Elite, and Mighty Mule systems, covering residential DIY systems up to commercial-grade operators. Maintenance on a Mighty Mule is not the same as maintenance on a DoorKing, and knowing the specifics of each one is the whole point of a gate specialist. Call (866) 330-9331 with your brand and the symptom.
Pricing is set per job by a written estimate, and the estimate is always free. The final price is the one on the estimate you agreed to, and the price is quoted before any work starts. Call (866) 330-9331 to schedule an on-site estimate. We answer 24/7. Fast dispatch from 7am to 7pm, Sunday through Friday.
The Bottom Line
Gate maintenance in Lakewood is not a monthly chore. It’s three seasonal checkpoints timed to the freeze-thaw cycle and the wind and sun that come with the Front Range: a pre-winter service that load-tests the battery and readies the gate for cold; a post-thaw inspection that catches what the winter moved; and a mid-summer pass that clears UV damage before it becomes a winter fault. Between those visits, the one monthly task that matters is the safety reversal test done to a real pass/fail standard. Do those things, use the right lubricant on the right points, and the March and November repair calls stop being the expensive ones. When a test fails, or a symptom shows up that you can’t trace, that’s when a specialist is worth calling in. Call (866) 330-9331 for a free estimate. We answer 24/7. Fast dispatch from 7am to 7pm, Sunday through Friday.
Written by the team at Lakewood Gate Repair.
See the difference
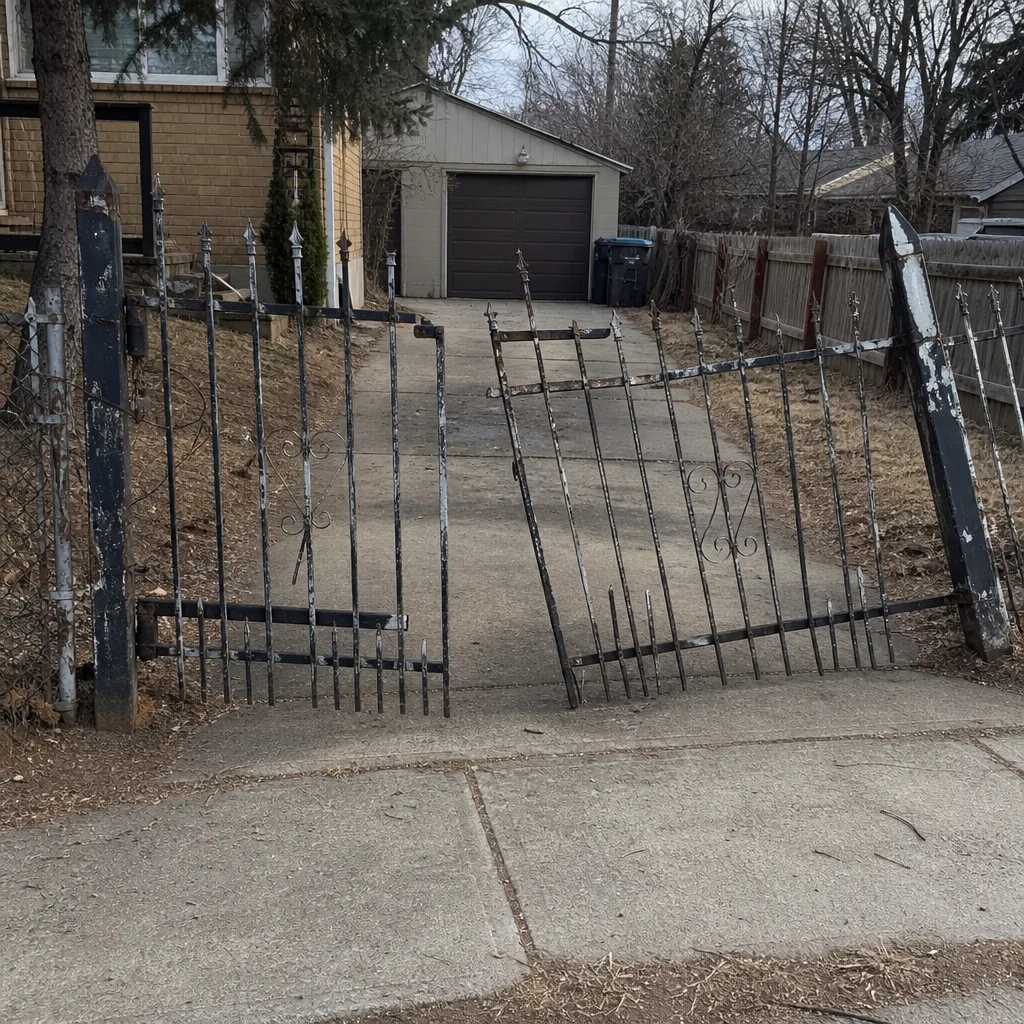 Before
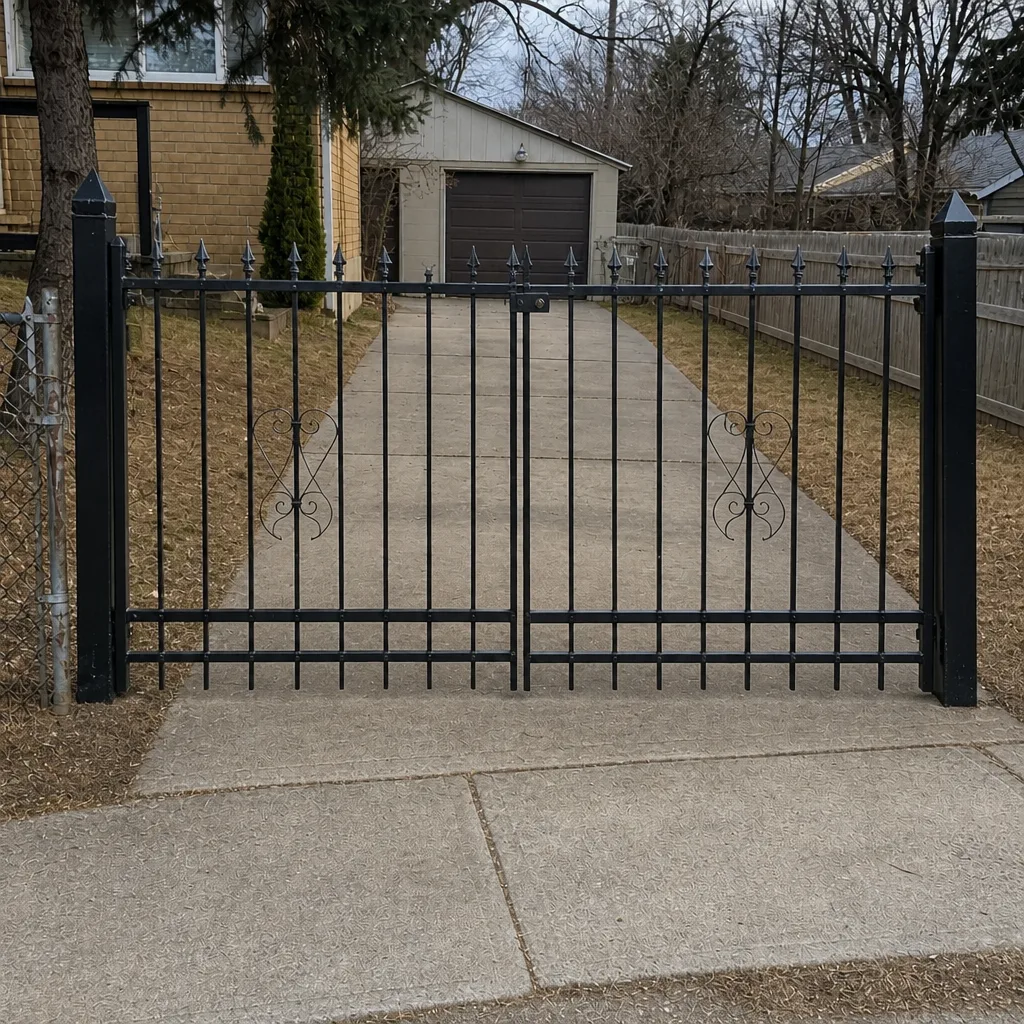 After
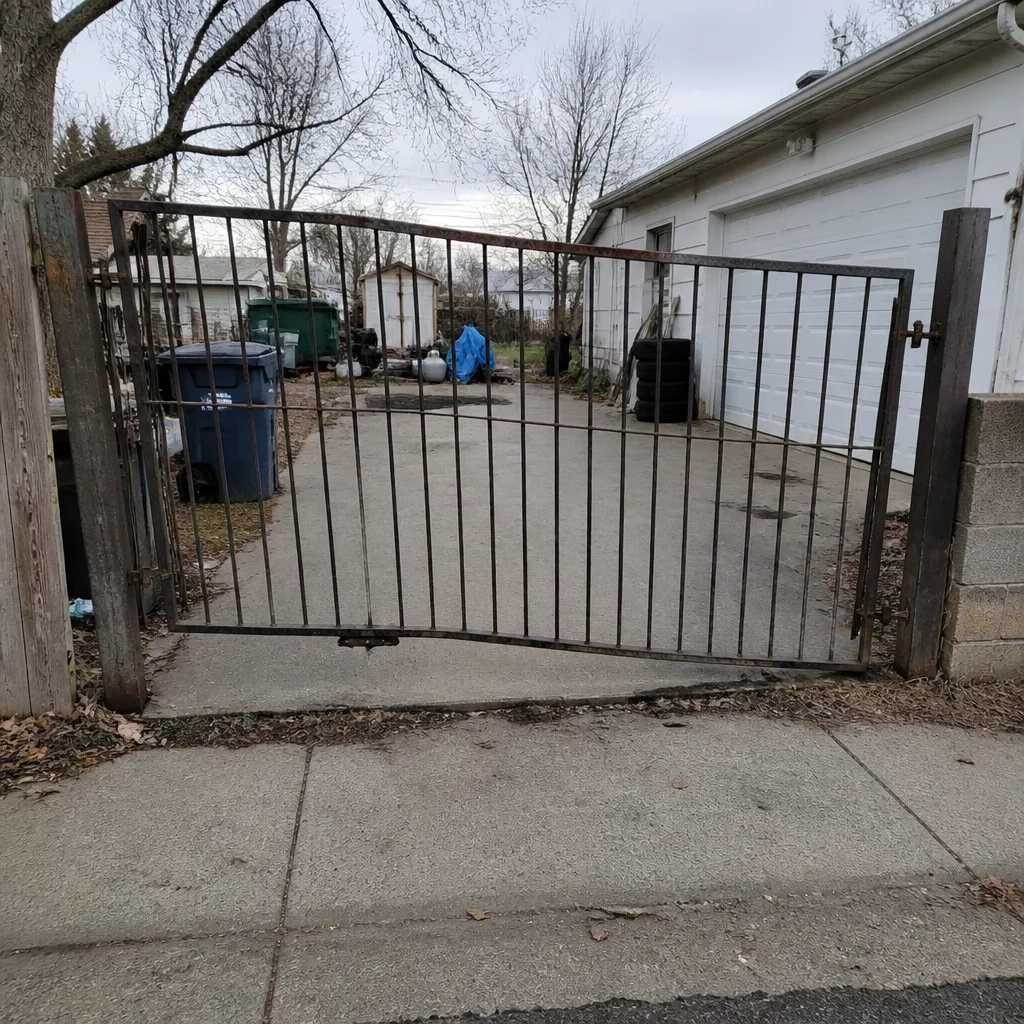 Before
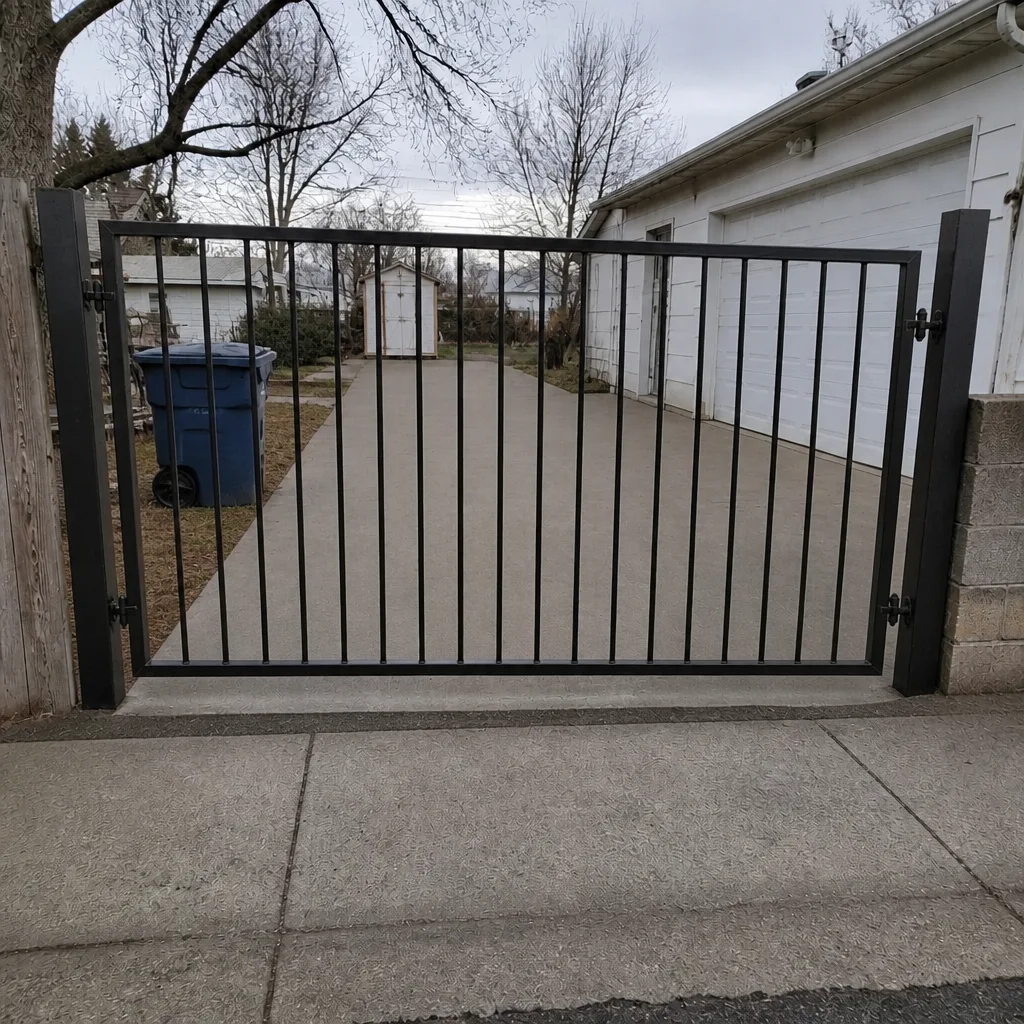 After
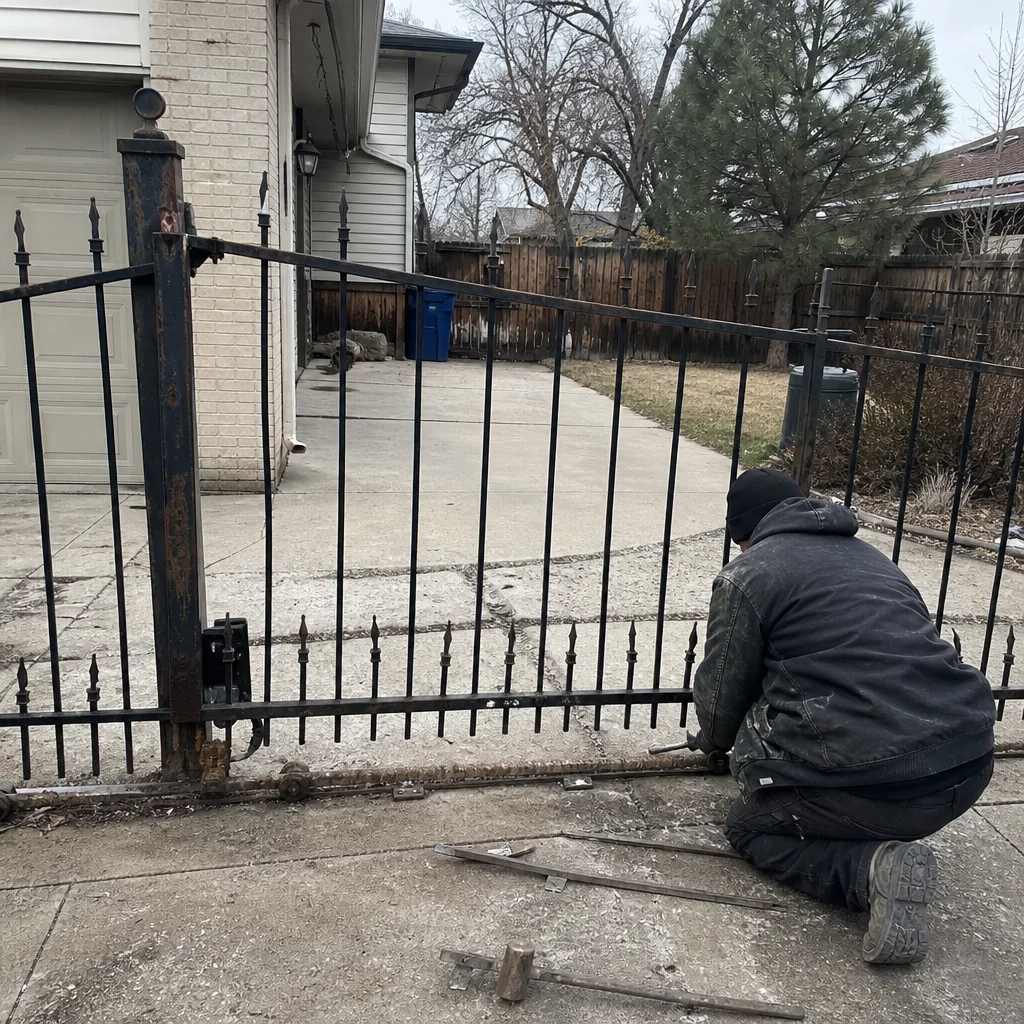 Before
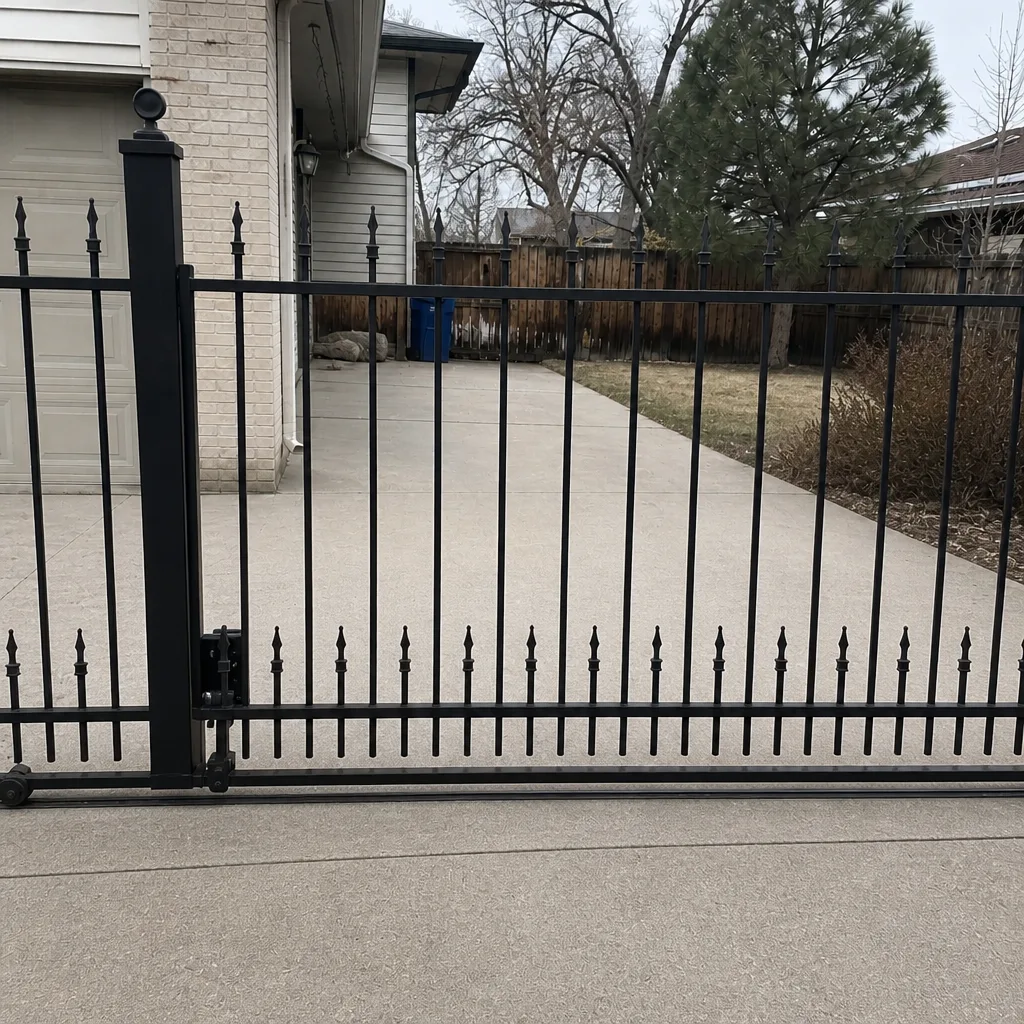 After