
Last updated November 15, 2026
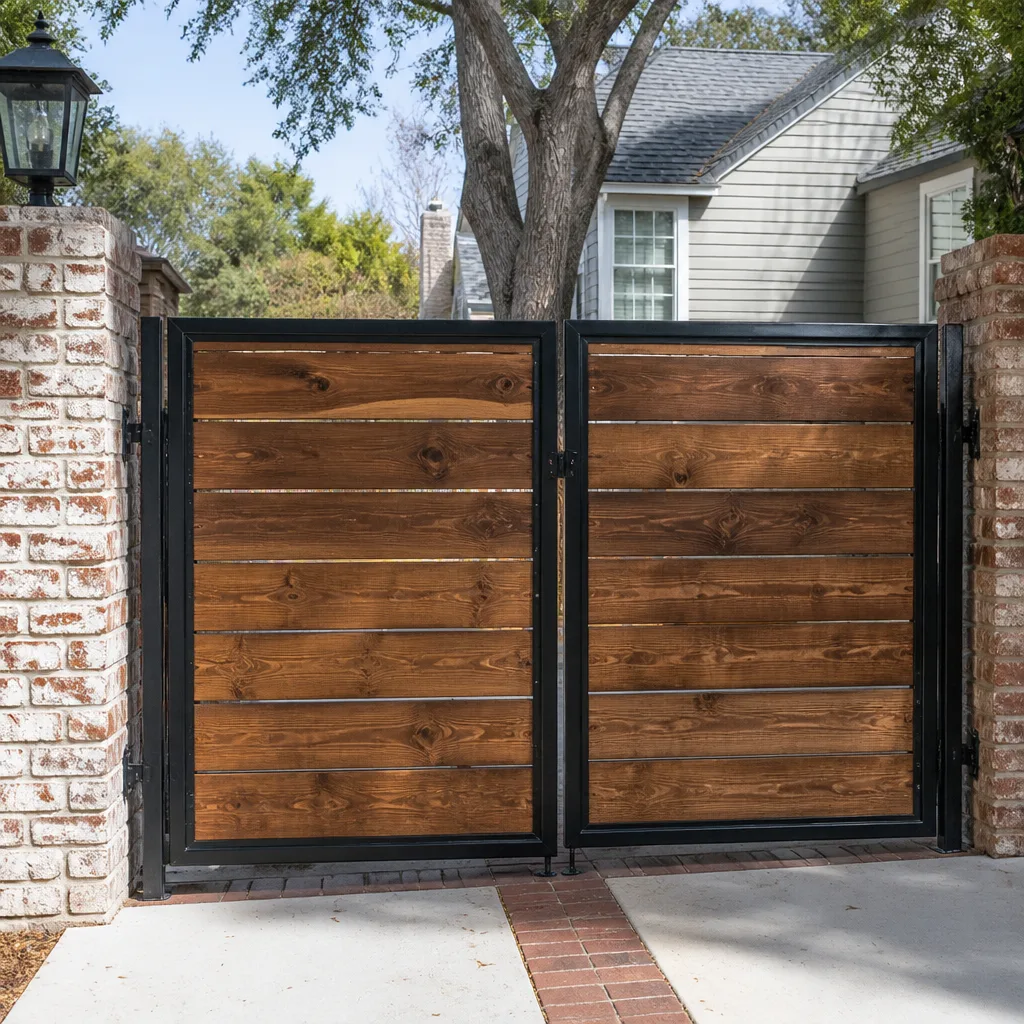 Wood & steel frame
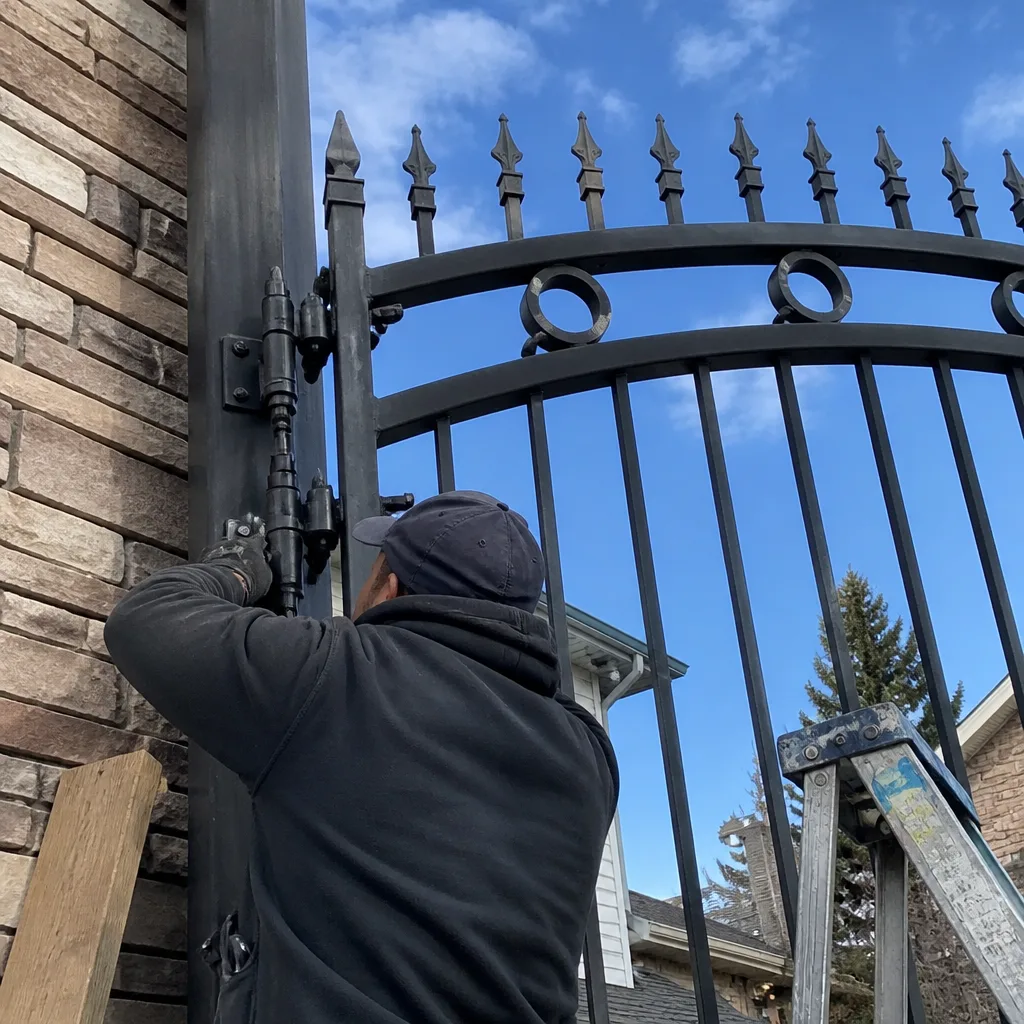
 Wrought iron
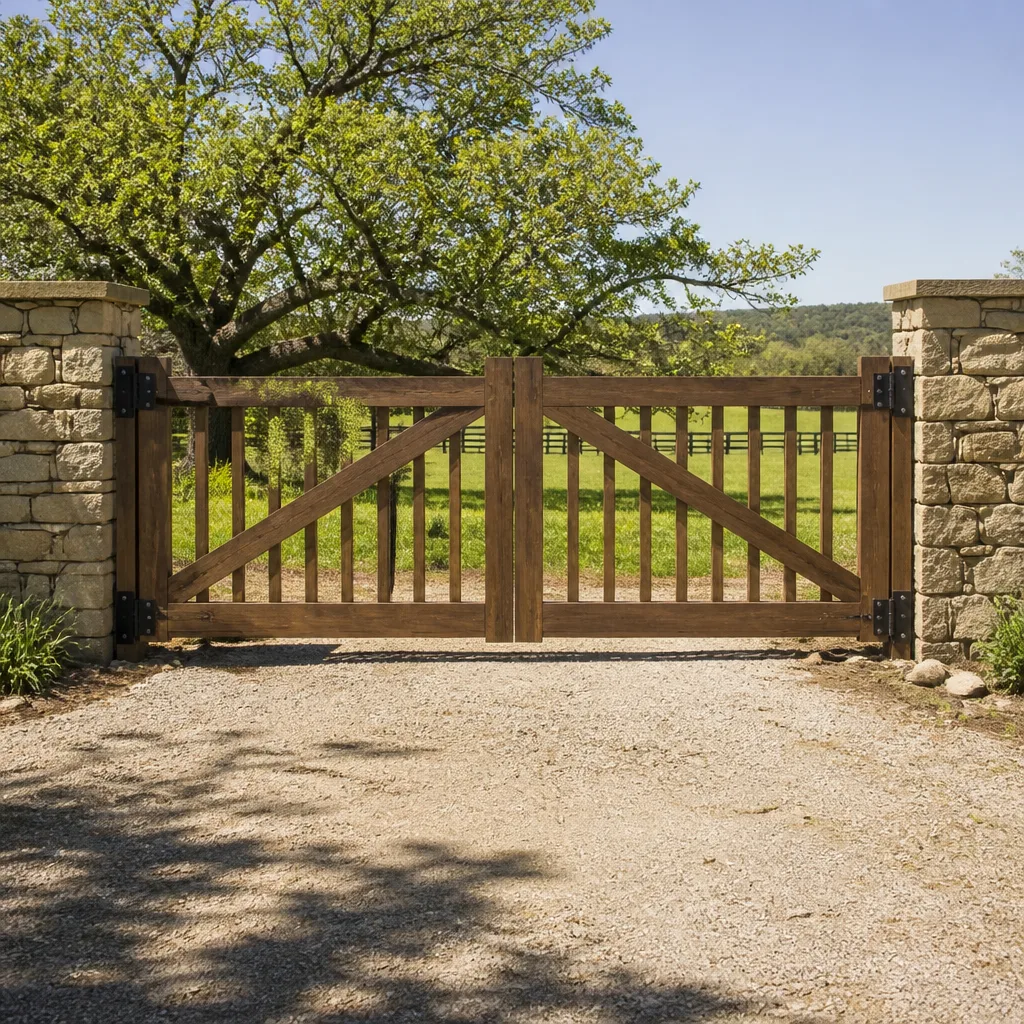 Farm & ranch
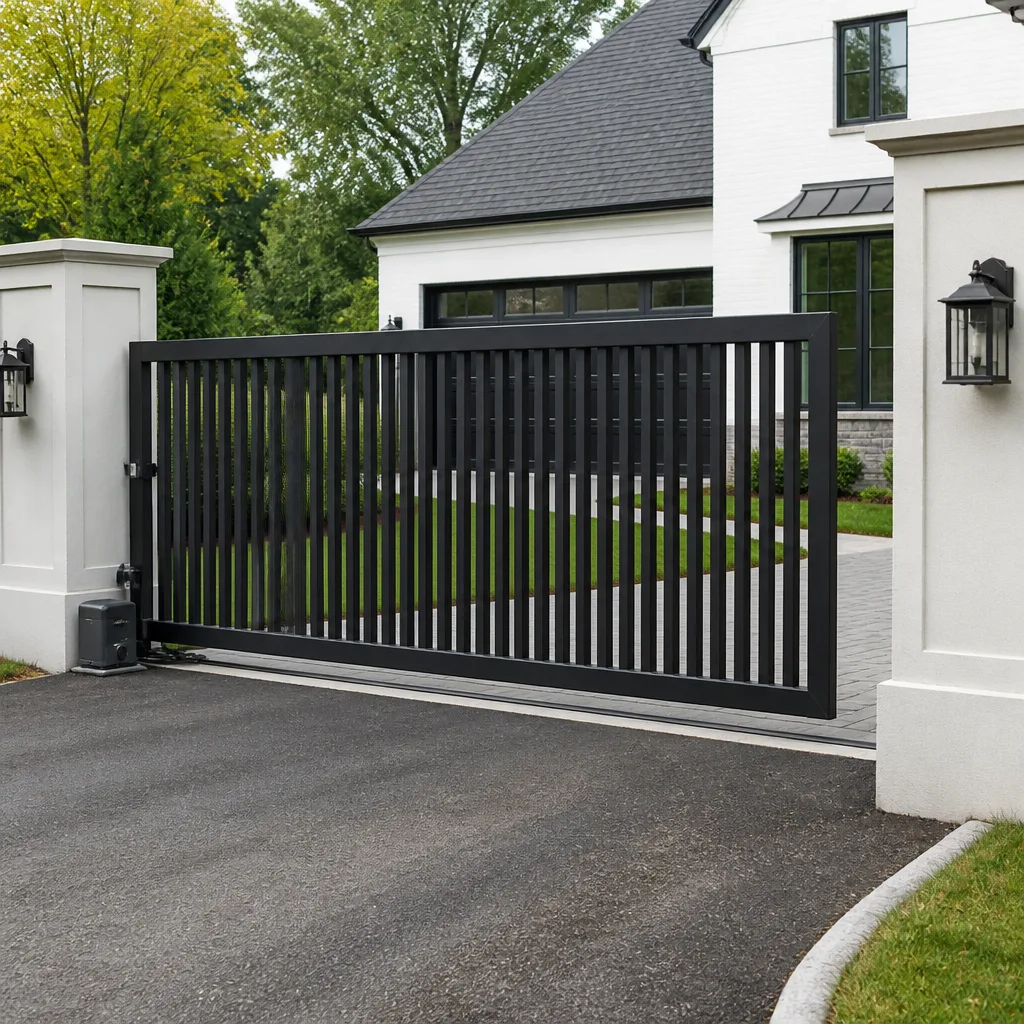 Sliding driveway gates
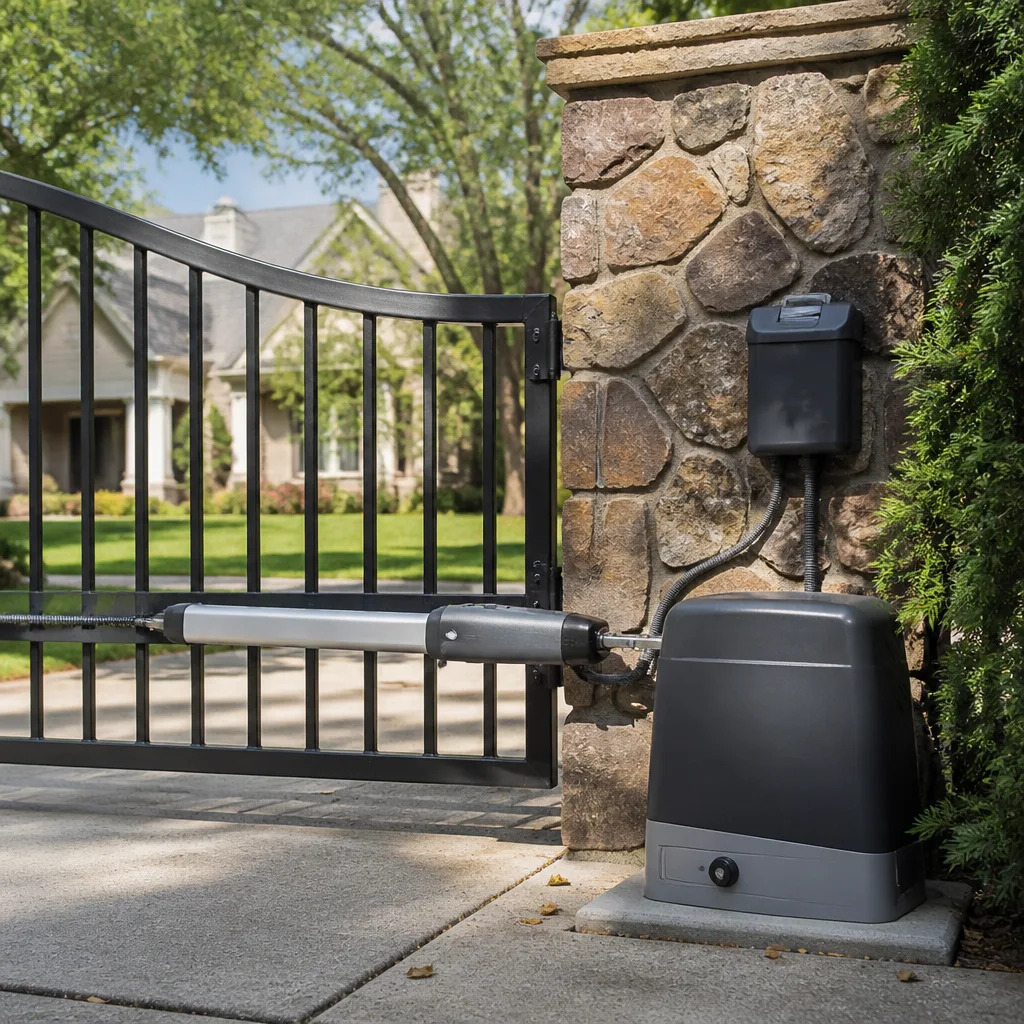 LiftMaster operators
Free on-site gate assessment - hinges, posts, and your LiftMaster or Nice gate operator checked before anything is quoted
The assessment is free and the quote is the invoice.
Get your free estimateGate Repair Maintenance Checklist for Lakewood Homeowners
Most gate maintenance advice you’ll find online was written for a gate sitting at sea level, in mild damp air, where the seasons change gently. Lakewood gates live at 5,400 feet. UV radiation here runs roughly 25% more intense than at sea level, so powder-coat finishes fade and chalk faster than the manufacturer’s timeline suggests, and rubber seals and bumpers crack years before a coastal owner would notice. Add low humidity and hard freeze-and-thaw cycles and you get failure patterns the national guides never mention. This checklist is built around what actually breaks on Front Range gates: altitude-driven UV damage, freeze-driven hardware problems, and the winter failures you can head off before the first cold snap.
Quick Answer
A working gate maintenance checklist for Lakewood has four jobs: re-lubricate after every hard freeze rather than once a year, check the hinge posts for frost heave with a level once a season, inspect UV-worn wiring insulation and rubber bumpers on a schedule tied to the sun, and prep the operator and hinges before the first freeze. Do those four and you prevent most of the failures that turn into repair calls in January.
Styles & brands we work with
- Wrought iron
- Wood & steel frame
- Farm & ranch
- Sliding driveway gates
- LiftMaster operators
Table of Contents
- Why a Lakewood Gate Ages Faster Than the Manual Says
- The Lubrication Schedule That Changes After Every Hard Freeze
- How to Check Your Gate Posts for Frost Heave
- Altitude UV Checks: Wiring, Seals and Rubber Bumpers
- The Two Things to Do Before the First Hard Freeze
- What Counts as Normal Wear vs. Accelerating Failure
- Electric Gate Checks: Operator, Sensors and Control Board
- Your Month-by-Month Gate Inspection List
Why a Lakewood Gate Ages Faster Than the Manual Says
Gate hardware is engineered and tested in places with milder UV loads and gentler freeze cycles than Colorado’s Front Range. That mismatch is the whole story behind most premature gate failures we see. The metal doesn’t care what the manual predicted; it reacts to the sun and the temperature swings it actually gets in a Lakewood yard.
Here’s how the local conditions hit a gate:
- UV intensity: At higher altitude, thinner atmosphere filters less ultraviolet light. That accelerates powder-coat chalking, plastic and rubber cracking, and the degradation of wire insulation on electric gates.
- Low humidity: Dry air is easy on bare steel in the short term but it pulls moisture out of rubber and nylon components, so bumpers, bushings and seals dry out and split faster.
- Freeze-and-thaw cycles: Water works into small gaps, freezes, expands and opens them a little wider each time. In a single winter that repeated expansion can move a hinge post, split a bushing or seize a latch.
- Strong seasonal sun angles: A gate that faces the same direction year after year takes the sun on the same few surfaces, so the south- or west-facing side of a Lakewood gate usually wears first.
The practical lesson: everywhere else, an annual tune-up is enough. Here, the calendar you maintain against has to be tied to freeze events and UV exposure, not to an annual date on a manufacturer’s sticker. That’s the difference between a gate that lasts and one that starts groaning every spring.
The Lubrication Schedule That Changes After Every Hard Freeze
A gate lubricated once a year in Lakewood is under-lubricated. The hard freezes drain and stiffen the grease and oil in hinges, latches and roller tracks, and once that protection thins, friction and rust move in. The correction isn’t more frequent oiling on a fixed calendar; it’s re-lubricating right after each hard freeze.
Here’s what we mean by the points that matter:
- Hinge pins and barrels. These are the highest-friction points on a swing gate and the first to seize after a freeze cycle. A dry hinge grinds the metal and eventually wears the pin oval.
- Latch and striker. A frozen latch that gets forced can bend the strike plate or snap the handle return spring, so grease the mechanism before the cold, not after it jams.
- Roller tracks and wheels on slide gates. Track grease thins in cold, and grit sticks to whatever’s left. Clean the track, then re-grease.
- Operator drive chain or screw (if the gate is electric). Follow the operator manual for the specific lubricant, and reapply after a freeze if the manufacturer calls for it.
- Guide rollers and post-caps. Small, cheap parts that dry out quietly and then rattle, telling you they’ve been running dry.
Use a lubricant that stays put in cold weather and doesn’t attract grit. Light spray oils work for hinges; heavier grease belongs on gear and chain where the operator calls for it. Avoid the temptation to coat everything in the same product. If you’re not sure what a particular brand of operator or hardware wants, that’s a question a gate specialist can answer, and it’s the kind of thing we walk through on the phone before anyone comes out.
How to Check Your Gate Posts for Frost Heave
Frost heave is the quiet cause of a gate that suddenly drags, swings crooked or won’t latch. When the soil under a post expands and contracts with freeze cycles, an improperly set post can lift or shift slightly. It doesn’t take much: a quarter inch of movement at the base translates into real misalignment at the top of a six-foot gate.
You can spot the early signs yourself with a level and a few minutes:
- Place a spirit level vertically on the hinge post and note the bubble position. Do the same on the latch post. Both should read plumb.
- Recheck after a freeze cycle. If the level read true in autumn and leans in spring, the post moved.
- Look at the soil line. A gap between the soil and the post, or freshly heaved soil around the base, is a classic sign.
- Test the gate’s swing. If it clears the ground at one end of its arc but scrapes at another, the post has tilted plane.
- Check the latch alignment. A latch that used to catch cleanly and now needs a shove points to the same thing.
If a post has moved, this isn’t a shimming job. The correct fix is to reset the post at proper footing depth so it resists the heave cycle next winter. That’s real work, and it needs a technician who understands post depth and gate geometry. A gate that’s been misaligned for a season will wear its hinges and operator faster, so it’s worth calling this early. Sending a technician is a quick matter; gate repair starts with an honest on-site assessment.
Altitude UV Checks: Wiring, Seals and Rubber Bumpers
The sun in Lakewood does slow damage in fast-forward. Three components take the UV hit hardest, and all three are easy to overlook because they degrade gradually and fail suddenly.
Wiring insulation on electric gates
The wire running from the house to the operator and along the gate to the sensors and keypad has an outer jacket that cracks under sustained UV. Once it cracks, moisture gets into the conductors and you start getting intermittent faults: a gate that works in the morning and dead-ends in the afternoon, or a sensor that trips for no reason. Check any exposed runs for chalking, brittleness or splits. Wire that’s been in the sun for a decade should be inspected, not trusted.
Control board housing seals
The gasket and seal around the operator control box keeps out dust and moisture. UV dries and shrinks the rubber, and the seal stops sealing. Once that happens, fine dust and the occasional snow-melt creep in and find the board. Seal failure often shows as erratic behavior: random stops, a board that resets, sensors that misfire. If you run a BFT or Linear operator, this seal is one of the first things to check.
Rubber bumpers and stops
Impact bumpers and travel stops absorb the force of a gate swinging closed thousands of times. At sea level, rubber stays pliable for years. Here, UV and dry air turn it brittle, and a cracked bumper stops absorbing anything. A gate that slams instead of cushioning will eventually damage the operator or the frame. Replace worn bumpers before they fail, not after.
If any of these look weathered, don’t wait for a failure. Getting eyes on the control box and wiring early is cheaper than replacing a board. That’s precise work, which is why electric gate repair is a first-class part of what we do rather than something referred elsewhere.
The Two Things to Do Before the First Hard Freeze
Two steps before the first hard freeze prevent the majority of winter gate failures. They take an afternoon and pay back all season.
- Lubricate every moving point and test the full travel of the gate. Open and close it by hand and by operator. Listen for grinding, watch for hesitation, and feel for drag. A gate that binds in autumn will seize in winter, when the cold makes everything stiffer.
- Seal and secure the electrics. Inspect the control box seal, tighten any loose conduit fittings, and make sure water can’t pool near the operator or the sensor boxes. Snow-melt and freeze will find any gap you leave.
There’s a third habit that’s worth adding: clear the gate’s travel path before winter. Debris, leaves and grass clippings that pile up near the track become a frozen obstruction, and a slide gate pushing against frozen debris can strain the operator. On swing gates, a simple check that the ground under the swing arc is clear does the same job.
If your gate is a Ghost Controls or Viking system, run through the operator’s own pre-winter checks in the manual. Those brands are common on residential driveways, and we know their quirks well. But even the most reliable operator can’t compensate for a dry hinge or a misaligned post.
What Counts as Normal Wear vs. Accelerating Failure
Not every creak means an emergency, and not every smooth gate means it’s fine. The useful skill is telling normal wear from the pattern that means a technician should look before the next season.
- Normal wear: a hinge that develops a slight squeak until you lubricate it; a roller that’s a little noisier than last year; powder coat that chalks and fades on the sunny side.
- Normal wear: a latch that needs a light adjustment once; a sensor that needs occasional cleaning after a dust storm.
- Accelerating failure: a hinge that keeps loosening after each lubrication; a post that drifts out of plumb season after season; a gate that has moved from occasional drag to constant drag.
- Accelerating failure: a motor that’s working harder than it used to (slower travel, hotter to the touch, more frequent stops); wiring that faults more often each month.
- Accelerating failure: a repaired part that fails again within a season. Repeat failures are the clearest sign the underlying problem hasn’t been addressed.
Anything in the second group is the signal to get a professional eye on the gate before the next freeze. The pattern matters more than the symptom. A single creak is nothing; a creak that keeps coming back despite lubrication is the gate telling you something. That distinction is where a gate-only specialist earns their keep, because we see the same failure patterns across every brand from Mighty Mule to FAAC all day.
Electric Gate Checks: Operator, Sensors and Control Board
An electric gate maintenance check is mostly a safety check. The motor moving the gate is the visible part; the sensors, safety edges and control board are what keep people and vehicles out of harm’s way. Here’s what to look at on a schedule.
- Safety sensors and photo-eyes. Clean the lenses and test them by interrupting the beam while the gate closes. The gate should reverse. If it doesn’t, the gate isn’t safe to operate.
- Safety edges. On gates with pressure-sensitive edges, test that contact reverses the movement. Worn or cracked edge rubber is a UV casualty here.
- Control box. Look for seal gaps, dust ingress, and any sign of water inside. A cracked seal turns into a board failure eventually.
- Manual release. Test the manual release mechanism. In a power failure, that’s your way to open the gate, and it needs to work. Keep the release key somewhere known.
- Battery backup (where fitted). If your operator has a backup battery, check the operator’s signal for a low battery and replace as the manual directs.
- Wiring and conduit. Look at exposed wire for brittle or cracked jackets. Loose conduit fittings are a draft and moisture path.
One word of warning. The wiring, control board and safety circuits on an electric gate are live electrical components. Don’t open a control box and start poking at terminals; a mistake there can shock you or damage the electronics. Cleaning sensor lenses and testing the reversal is safe for a homeowner. Anything behind the cover belongs to a trained technician. That’s the line we hold, and it’s why Lakewood Gate Repair treats electric repair as core work rather than a referral.
Your Month-by-Month Gate Inspection List
This is the schedule that fits Lakewood’s climate. It’s a guide, not a rigid calendar; a hard freeze or a windstorm resets it.
- Every month: open and close the gate and listen. Check latch alignment. Clean sensor lenses if electric.
- Every month in growing season: clear the gate’s travel path of weeds, leaves and grit.
- Every season: check post plumb with a level; inspect bumpers, seals and exposed wiring for UV wear; lubricate high-friction points.
- Before the first hard freeze: full lubrication pass, test full travel, seal the electrics, clear the path.
- After every hard freeze: re-lubricate hinges, latches and rollers; re-check post plumb; listen for new noises.
- Before the first hot stretch: check for UV damage on rubber and plastics, and look at the powder coat on the sunny side.
Write the dates down, or keep a note on your phone. Tracking when posts were last checked and when bumpers were last replaced is how you catch a drift before it turns into a failure. The gates that last in Lakewood are the ones where someone is paying attention to the local conditions, not just following a generic yearly checklist.
Common Mistakes to Avoid
- Treating the manufacturer’s annual schedule as gospel. A once-a-year lubrication is written for a milder climate. In Lakewood, the freeze cycles ask for re-lubrication after every hard freeze or your hinges will tell you about it.
- Ignoring a post that’s leaning slightly. A small tilt is easy to ignore and very easy to accelerate. Left alone, a heaving post moves further each winter and takes the gate’s alignment and hinge wear with it.
- Coating everything in the same lubricant. Hinges, tracks and operator gear want different products. Using one spray for all of it leaves some parts over-greased and others under-protected.
- Skipping the safety sensor test. People test that the gate opens; fewer test that a sensed obstruction reverses it. That test is the one that matters, and it takes ten seconds.
- Letting UV damage go unchecked on the sunny side. Rubber bumpers and wire jackets degrade faster here than the packaging suggests. A four-dollar bumper replaced on time can save an operator.
- Running the gate against frozen debris. A slide gate pushing through ice or accumulated grit strains the motor every time. Keep the travel path clear, especially before a freeze.
- Opening the control box yourself. Sensor cleaning and a reversal test are homeowner tasks. Wiring and boards are not; the electricity is real and a mistake is costly.
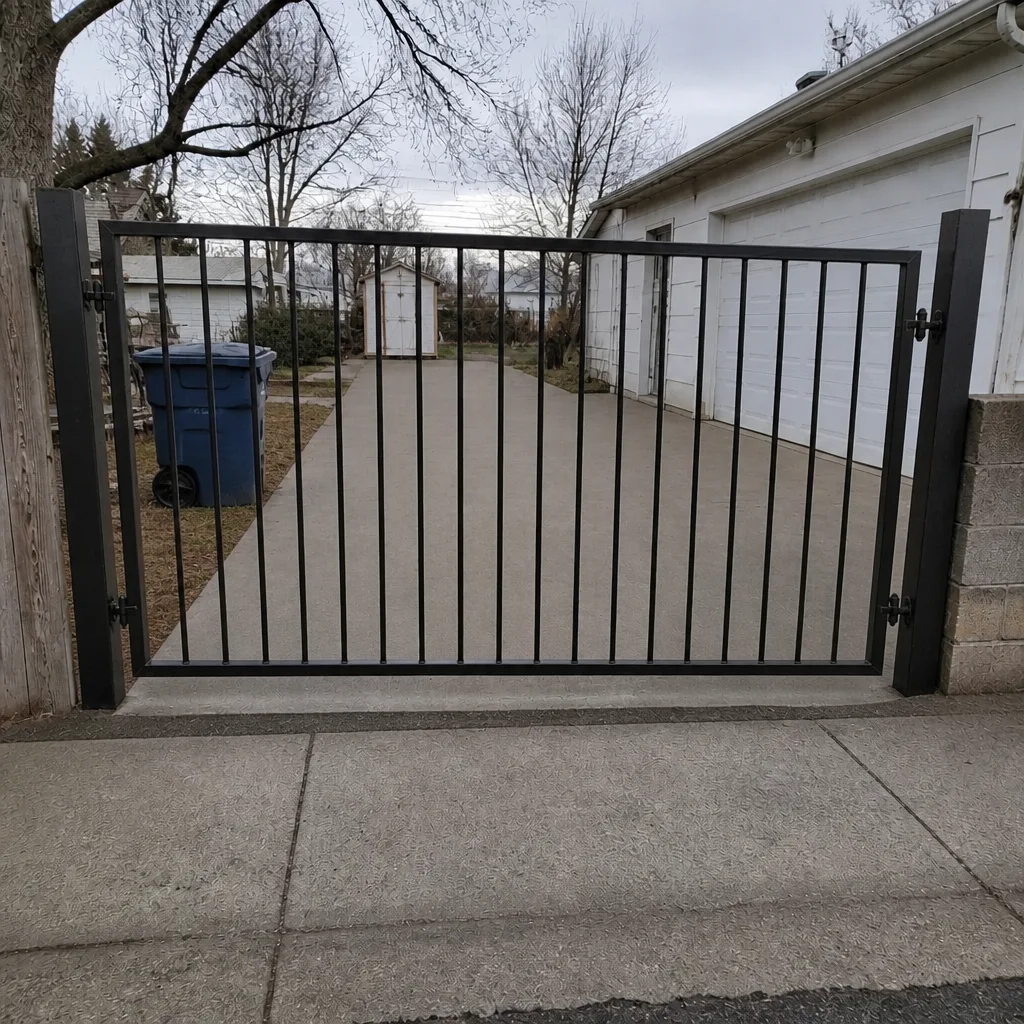
See the difference
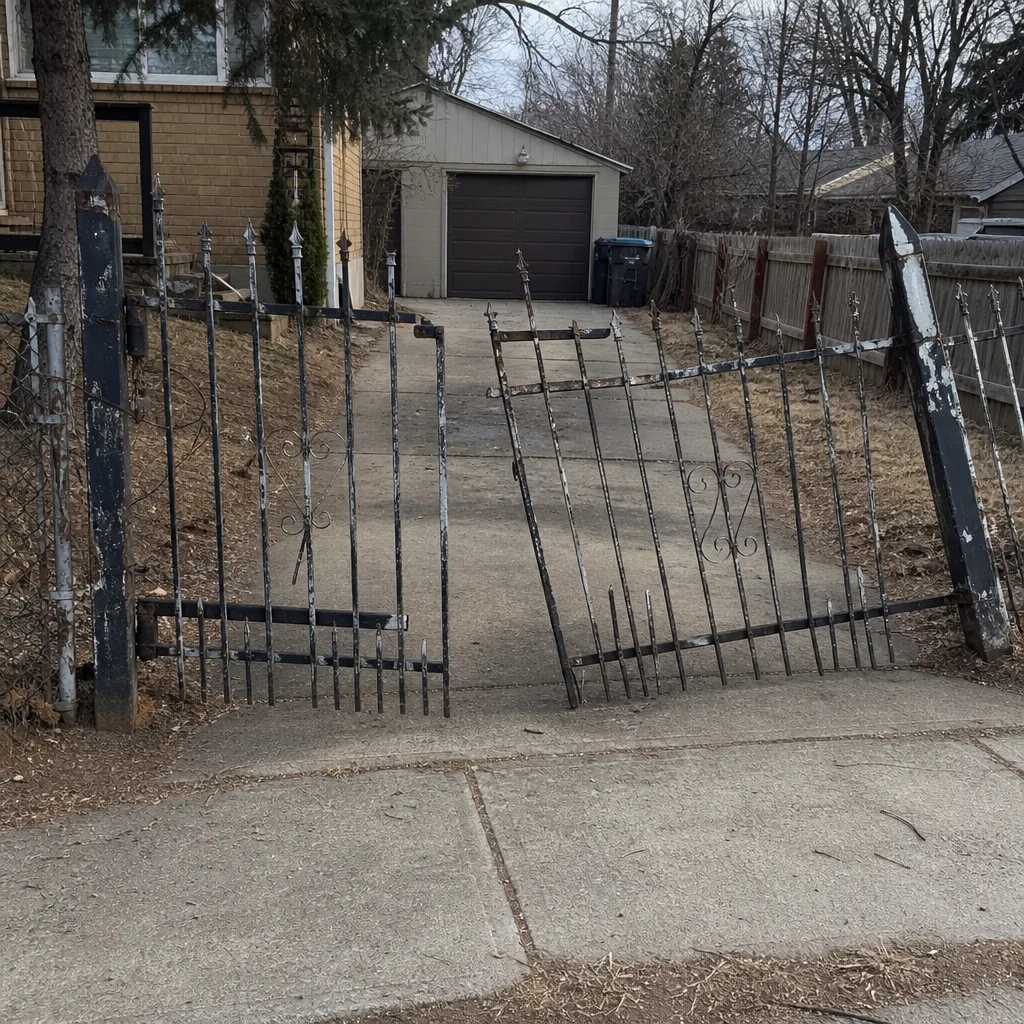 Before
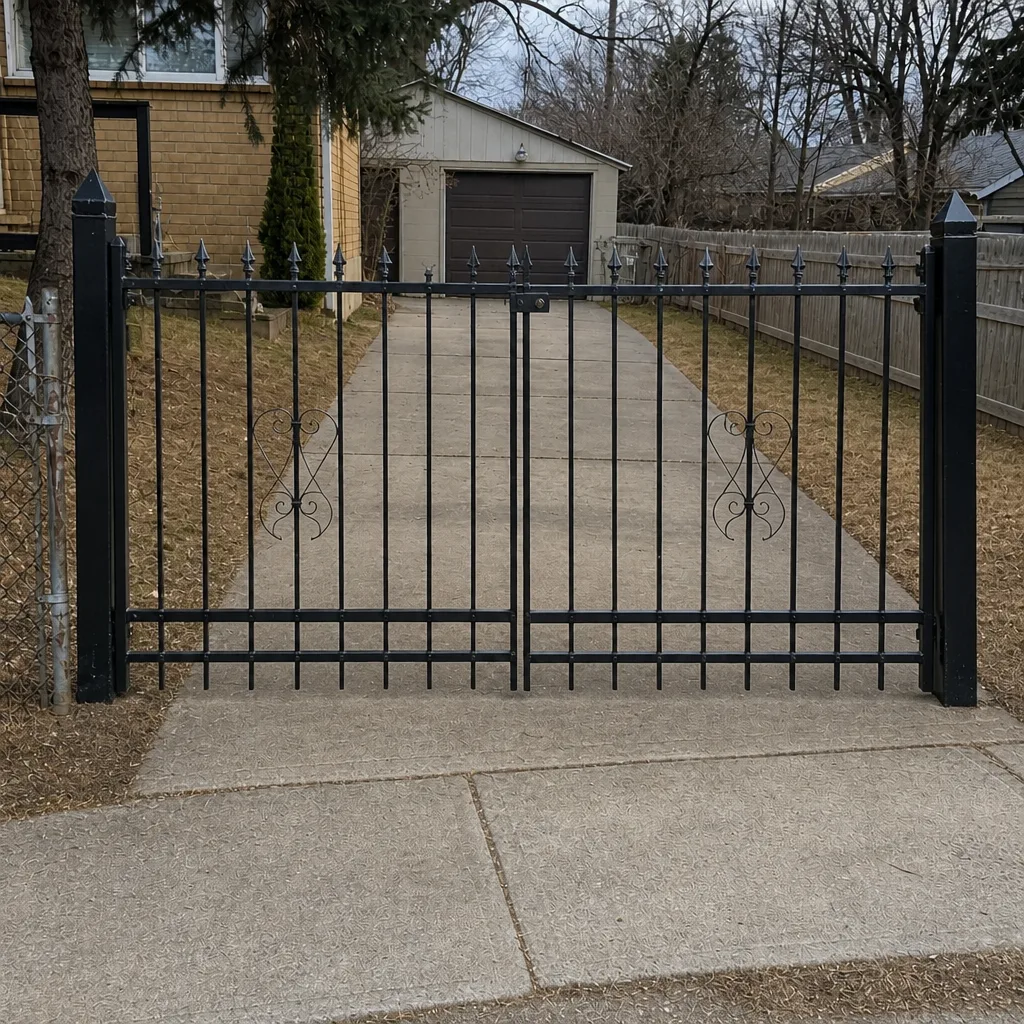 After
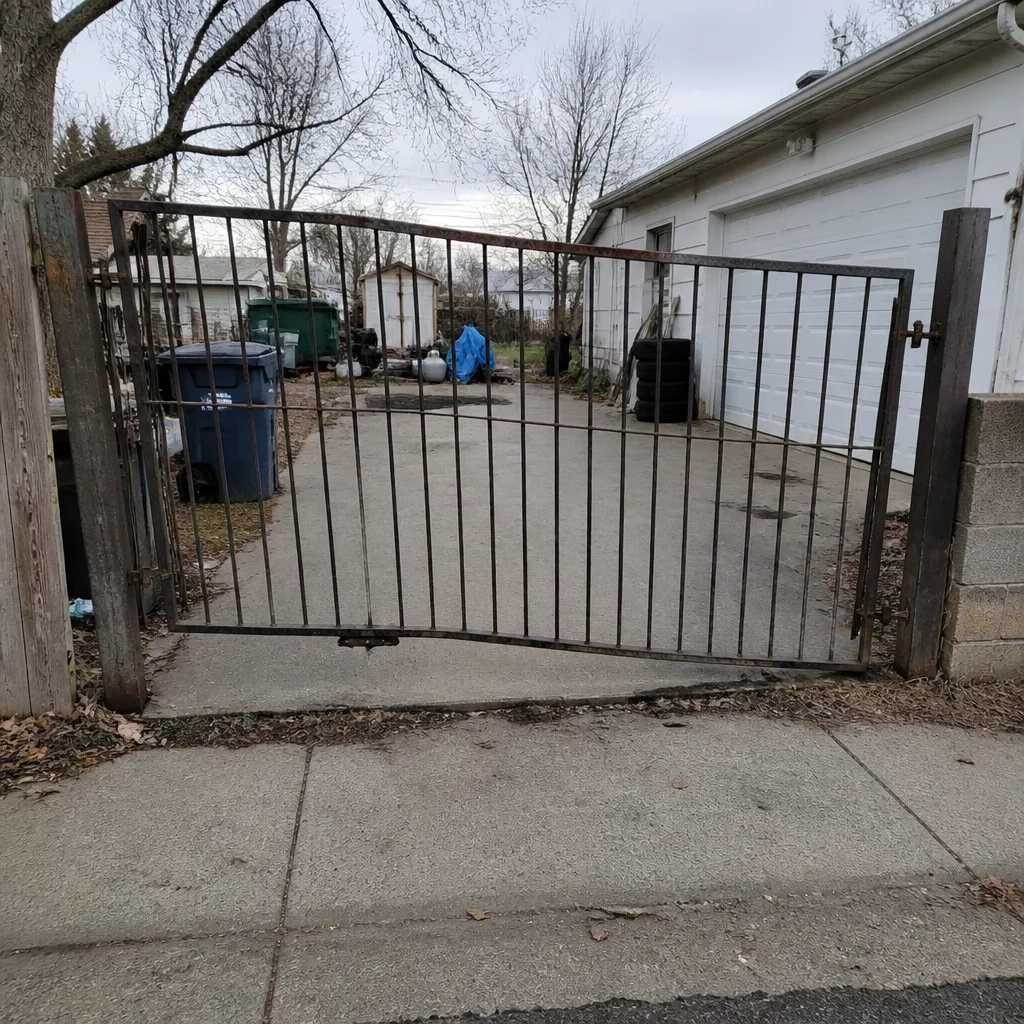 Before
 After
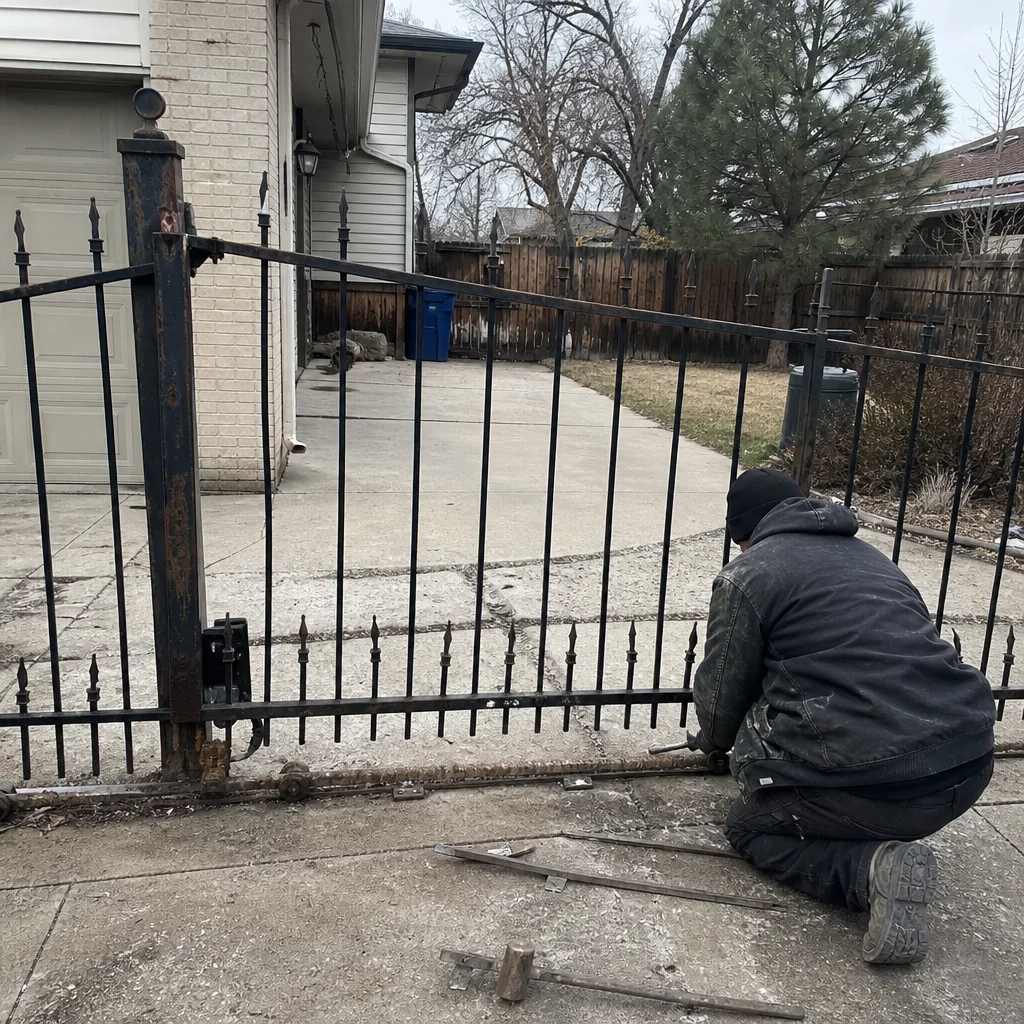 Before
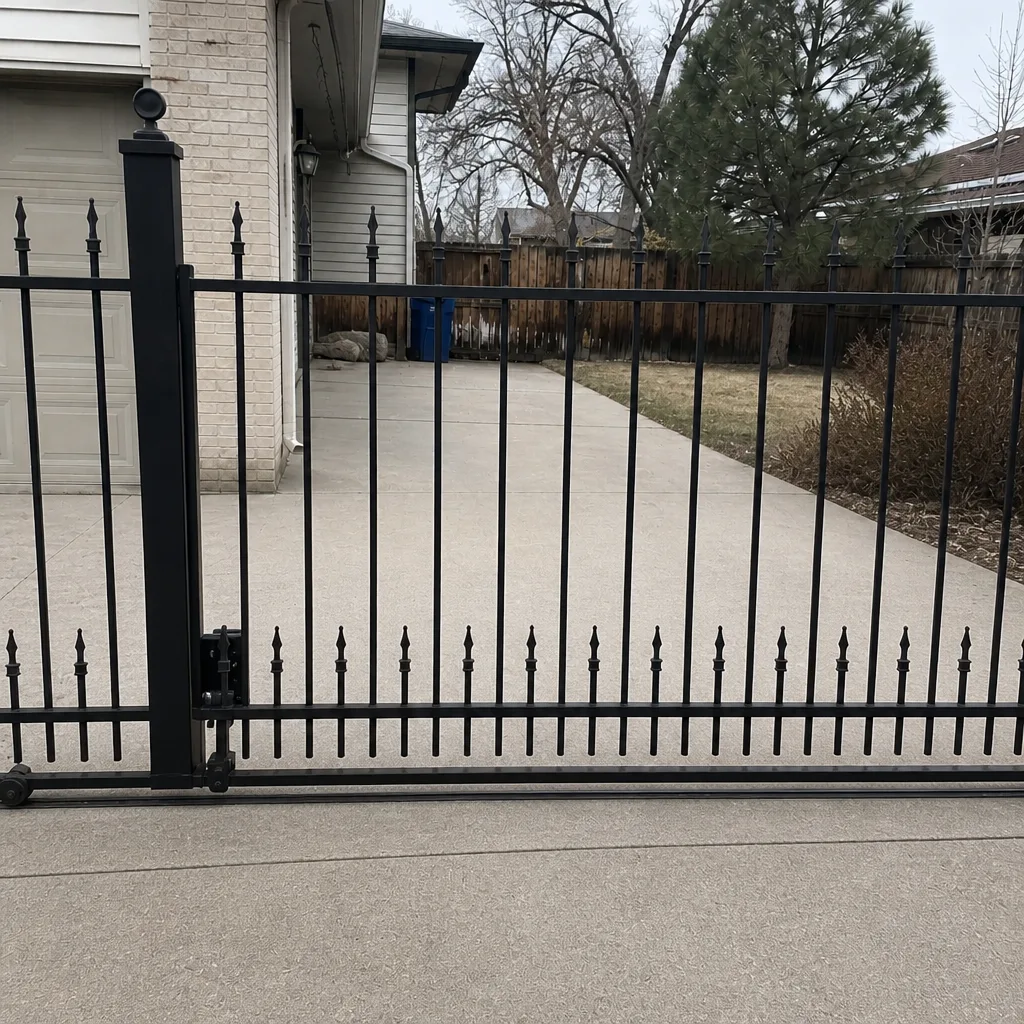 After
When to Call a Professional
Call a gate specialist when a post has moved out of plumb, when a hinge or bushing keeps failing after lubrication, when a gate drags or won’t latch, when an electric operator acts up intermittently, when safety sensors or edges don’t reverse the gate, or when wiring shows cracked insulation or water damage. Any one of those is worth an on-site look before the next season, and some of them are a safety issue right now. We offer free estimates in Lakewood. Call (866) 330-9331. We answer 24/7. Fast dispatch from 7am to 7pm, Sunday through Friday.
Frequently Asked Questions
At least seasonally, and again after every hard freeze. The annual schedule you’ll find in most manuals is written for a milder climate. In Lakewood’s freeze cycles, hinges, latches and rollers lose their protection faster, and re-lubricating after a freeze is how you keep a gate moving smoothly through winter. Call (866) 330-9331 if you want us to look at a specific gate and tell you what it needs; estimates are free.
Frost heave is the lifting or shifting of the soil under a post as it freezes and thaws. A post set at proper footing depth resists it, but one that shifts will throw the gate out of plumb and cause dragging, latch misalignment and faster hinge wear. A spirit level on the hinge and latch posts once a season is the simplest check. If the post has moved, call (866) 330-9331 and we can reset it properly.
Yes. At 5,400 feet, UV exposure is roughly 25% more intense than at sea level. That means powder-coat finishes, rubber bumpers and the insulation on electric gate wiring degrade faster here. The parts hit hardest are the ones you don’t see: wire jackets, control box seals, and impact bumpers. It’s worth a look at those three every season. Call (866) 330-9331 if any of them look weathered.
Watch for intermittent behavior: a gate that works and then doesn’t, random stops, or sensors that trigger with nothing in the way. Those symptoms often trace to cracked or water-damaged wiring. Look at any exposed wire jacket for chalking or splits and at the control box seal for gaps. Don’t open the control box yourself; that’s live wiring. Call (866) 330-9331 and we’ll diagnose it on-site; estimates are free.
Normal wear is a squeak that lubrication silences, a roller that’s a little noisier, or a finish that fades on the sunny side. Accelerating failure is a hinge that keeps loosening, a post that drifts, a motor that struggles more each month, or a part that fails again within a season. The pattern matters more than the symptom. If a part keeps failing, the underlying cause needs a technician. Call (866) 330-9331 to get it looked at.
Cleaning sensor lenses, testing reversal, clearing the travel path and checking post plumb with a level are all reasonable homeowner tasks. Anything involving post resetting, hinge replacement, wiring or control boards belongs to a trained technician. The electricity on an electric gate is the line you don’t cross on your own. Our technicians have up to 12 years of experience. For anything beyond the basics, call (866) 330-9331 for a free estimate.
The Bottom Line
Lakewood gates fail on a schedule the national maintenance guides don’t predict. Altitude UV, dry air and hard freeze cycles come together to wear powder coat, rubber and wiring faster, and to move posts that were never set deep enough to resist it. The checklist that actually works is tied to those conditions: lubricate after every hard freeze, check post plumb seasonally, inspect UV-worn parts on the sunny side, and prevent the winter failures before the first cold snap. And know when normal wear has turned into a pattern that needs a specialist. That’s the whole method. Keep it, and your gate stays aligned, safe and working through every season.
If a gate in your yard needs an eye on it, or you’d rather hand the checklist to someone who works on gates all day, call (866) 330-9331 for a free estimate. We answer 24/7. Fast dispatch from 7am to 7pm, Sunday through Friday, and our technicians have up to 12 years of experience.
Written by the team at Lakewood Gate Repair.